24-Aug-2022
.
Admin

Hello Friends,
Here, I will show you how to work flutter horizontal list tutorial example. it's a simple example of creating a horizontal listview in a flutter. this example will help you how to implement a horizontal listview in a flutter. I would like to show you create a horizontal listview in a flutter. follow the below step for a horizontal listview inside a vertical scroll view in a flutter.
The ListView widget supports both flutter horizontal list and vertical list. When we want our list to be scrolled horizontally rather than vertically, we go for Horizontal List. List view provides the horizontal scroll direction that overrides the vertical direction.
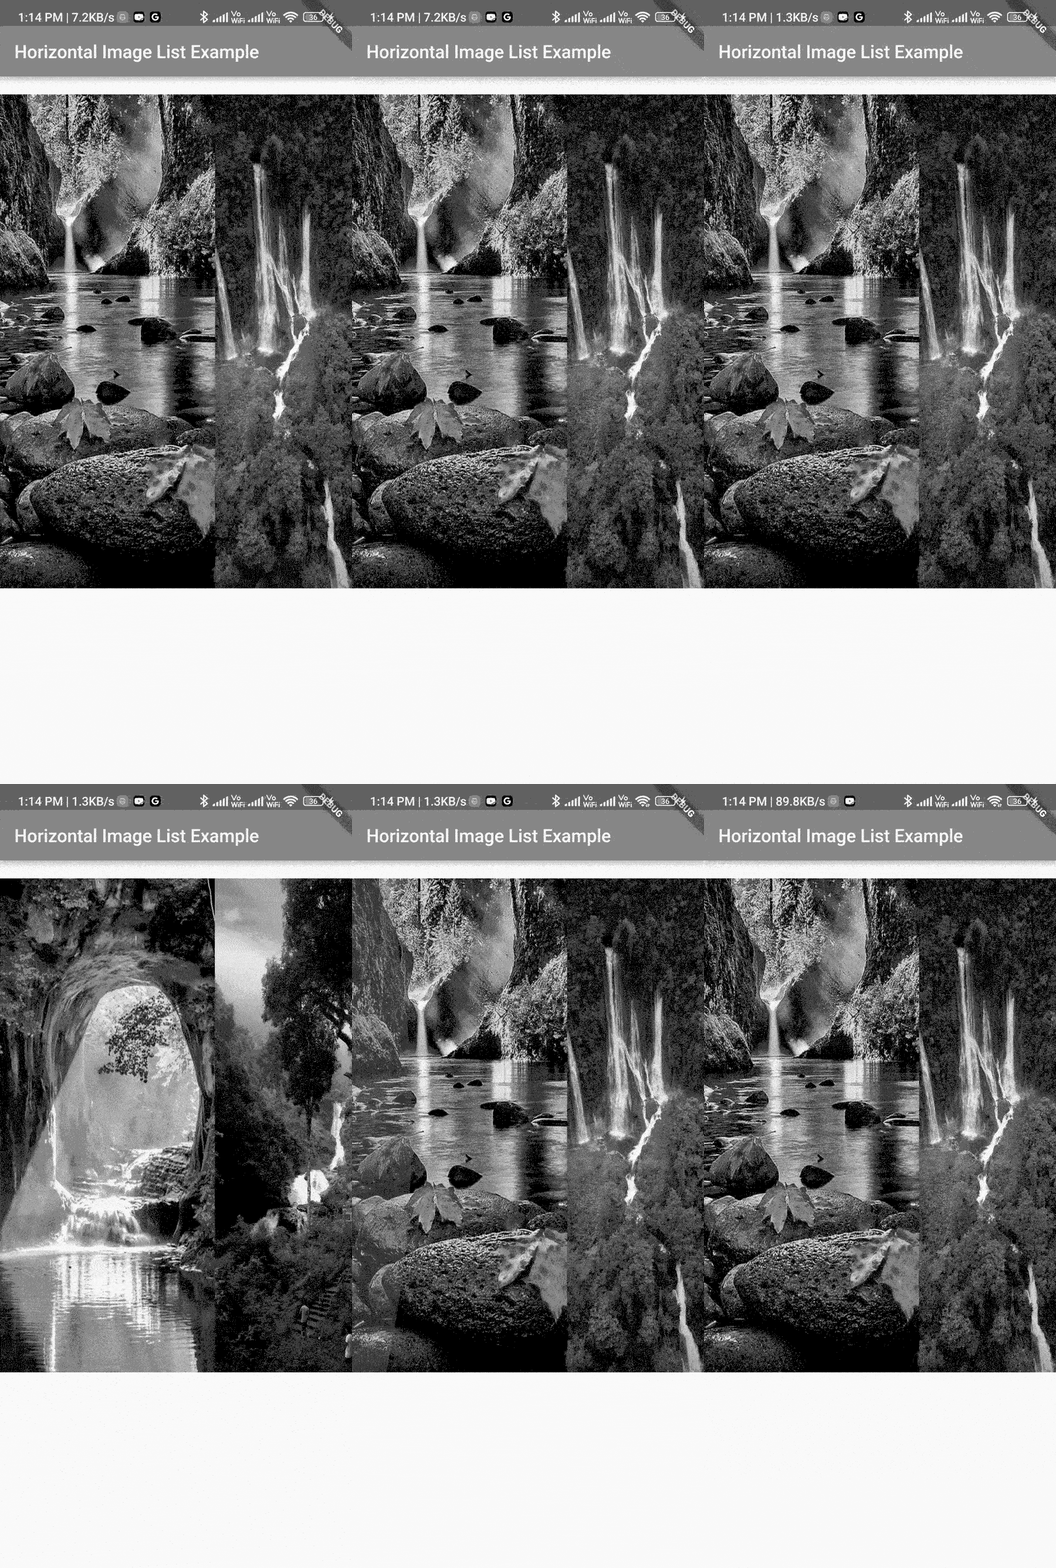
So, let's see the below solution with an output:
Step 1: Create Flutter Project
Follow along with the setup, you will be creating a Flutter app.
- $flutter create flutter_horizontal_image_list_example
Navigate to the project directory:
- $cd flutter_horizontal_image_list_example
Step 2: Create Asset Directory
- Create Asset Directory Like This assets/images
- Set Asset Directory in pubspec.yaml like this
	# The following section is specific to Flutter.
	flutter:

		# The following line ensures that the Material Icons font is
		# included with your application, so that you can use the icons in
		# the material Icons class.
		uses-material-design: true
		assets:
	    	- assets/images/
Step 3: Main File
Create a main.dart file in the lib directory
import 'package:flutter/material.dart';

	void main() => runApp(MyApp());

	class MyApp extends StatelessWidget {
		@override
		Widget build(BuildContext context) {
		    final title = 'Horizontal Image List Example';

		    return MaterialApp(
			    title: title,
					home: Scaffold(
				        appBar: AppBar(
				           	title: Text(title),
				          	backgroundColor: Colors.blue,
				        ),
			        body: Container(
			         	margin: EdgeInsets.symmetric(vertical: 20.0),
			          	height: 550.0,
			          	child: ListView(
			            	scrollDirection: Axis.horizontal,
			            	children: <Widget>[
			              		Container(
			                		height: 480.0,
			                		width: 240.0,
			                		decoration: BoxDecoration(
			                  	 		image: DecorationImage(
			                   	 			image: AssetImage(
			                        			'assets/images/1.jpg'),
			                    			fit: BoxFit.fill,
			                  			),
			                  			shape: BoxShape.rectangle,
			                		),
			              		),
				              	Container(
					                height: 480.0,
					                width: 240.0,
					                decoration: BoxDecoration(
					                  	image: DecorationImage(
					                    	image: AssetImage(
					                        	'assets/images/2.webp'),
					                    	fit: BoxFit.fill,
					                  	),
					                  	shape: BoxShape.rectangle,
					                ),
			              		),
				              	Container(
					                height: 240.0,
					                width: 240.0,
					                decoration: BoxDecoration(
					                  	image: DecorationImage(
					                    	image: AssetImage(
					                        	'assets/images/3.jpg'),
					                    	fit: BoxFit.fill,
					                  	),
					                  	shape: BoxShape.rectangle,
					                ),
				              	),
				              	Container(
					                height: 480.0,
					                width: 240.0,
					                decoration: BoxDecoration(
					                  	image: DecorationImage(
					                    	image: AssetImage(
					                        	'assets/images/4.jpeg'),
					                    	fit: BoxFit.fill,
					                  	),
					                  	shape: BoxShape.rectangle,
					                ),
				              	),
				              	Container(
					                height: 480.0,
					                width: 240.0,
					                decoration: BoxDecoration(
					                  	image: DecorationImage(
					                    	image: AssetImage(
					                        	'assets/images/1.jpg'),
					                    	fit: BoxFit.fill,
					                  	),
					                  	shape: BoxShape.rectangle,
					                ),
				              	),
			            	],
			          	),
			        ),
			    ),
		    );
		}
	}
Step 4: Run this Debug App

I hope it can help you...
#Flutter