25-Aug-2021
.
Admin
Hi guys,
Today i will explained Image Rotate, Upload, and Integrate Validation using Image Manipulation Example in Codeigniter 4. This example is so easy to use in Codeigniter 4.
We will use the rotate image in CodeIgniter using the rotate() method; it is available through the image manipulation class. It allows you to quickly rotate an image in ‘90’, ‘180’, and ‘270 degree, respectively.
So let's start to the example.
Step 1 : Set Up Codeigniter App
composer create-project codeigniter4/appstarter
Step 2 : Error Handling
This step is optional, you can activate the error debugging. You need to go to app/Config/Boot/development.php likewise app/Config/Boot/production.php files and carefully switch the display_errors property to 1 from 0.
ini_set('display_errors', '1');
Step 3 : Create Files Table
CREATE TABLE files (
    id int(11) NOT NULL AUTO_INCREMENT COMMENT 'Primary Key',
    name varchar(100) NOT NULL COMMENT 'Name',
    type varchar(255) NOT NULL COMMENT 'File Type',
    PRIMARY KEY (id)
) ENGINE=InnoDB DEFAULT CHARSET=latin1 COMMENT='files table' AUTO_INCREMENT=1;
Step 4 : Add Database Credentials
In this segment, you have to open the app/Config/Database.php and add the database name, username, and password in the $default array.
public $default = [
        'DSN'      => '',
        'hostname' => 'localhost',
        'username' => 'root',
        'password' => '',
        'database' => 'codeigniter_db',
        'DBDriver' => 'MySQLi',
        'DBPrefix' => '',
        'pConnect' => false,
        'DBDebug'  => (ENVIRONMENT !== 'development'),
        'cacheOn'  => false,
        'cacheDir' => '',
        'charset'  => 'utf8',
        'DBCollat' => 'utf8_general_ci',
        'swapPre'  => '',
        'encrypt'  => false,
        'compress' => false,
        'strictOn' => false,
        'failover' => [],
        'port'     => 3306,
    ];
CodeIgniter\Database\Exceptions\DatabaseException
Sometimes, you might face following error:
Unable to connect database: Codeigniter;
To fix this error, you need to define the hostname based on your localhost development server.
# ====== MAMP
public $default = [
  'hostname' => '/Applications/MAMP/tmp/mysql/mysql.sock',
]

# ====== XAMP
public $default = [
  'hostname' => '/Applications/XAMPP/xamppfiles/var/mysql/mysql.sock',
]
Step 5 : Set Up Controller
Subsequently, you have to create a brand new file in the app/Controllers folder, and It might be named ImgManipulationController.php.
Furthermore, go to app/Controllers/ImgManipulationController.php and add the given code recklessly.
<?php
namespace App\Controllers;
use CodeIgniter\Controller;

class ImgManipulationController extends Controller
{
   public function index() {
      return view('image');
   }

   public function upload()
   {
        helper(['form', 'url']);
        // database
        $database = \Config\Database::connect();
        $db = $database->table('files');

        // file validation
        $isValidFile = $this->validate([
            'file' => [
                'uploaded[file]',
                'mime_in[file,image/jpg,image/jpeg,image/png,image/gif]',
                'max_size[file,4096]',
            ]
        ]);

        if (!$isValidFile) {
            print_r('Upload valid file or image size should be upto 4mb');
        } else {
            $imgPath = $this->request->getFile('file');

            // Image manipulation
            $image = \Config\Services::image()
                        ->withFile($imgPath)
                        ->fit(150, 150, 'left')
                        ->rotate(90)
                        ->save(FCPATH .'/thumbnails/'. $imgPath->getRandomName());

            $imgPath->move(WRITEPATH . 'uploads');

            $fileData = [
                'name' =>  $imgPath->getName(),
                'type'  => $imgPath->getClientMimeType()
            ];

            $store = $db->insert($fileData);
            print_r('File successfully uploaded.');
        }
   }
}
?>
Step 6 : Create Route
To make the file upload template your default view, you need to define the route for that, ensure that you update the following code in the app/Config/Routes.php file.
$routes->setDefaultController('ImgManipulationController');
$routes->get('/', 'ImgManipulationController::index');
Step 7 : Build File Upload View
Ultimately, we have landed on the final step of this tutorial, and we need to set up a new view, so create the image.php file in the app/Views folder. Thereafter, open and update the app/Views/image.php file.
<!DOCTYPE html>
<html>
<head>
    <title>Codeigniter 4 Image Rotate, Upload, and Integrate Validation using Image Manipulation Tutorial - Nicesnippets.com</title>
    <link rel="stylesheet" href="https://cdn.jsdelivr.net/npm/bootstrap@5.0.0/dist/css/bootstrap.min.css">
</head>
<body>
    <div class="container mt-5" style="max-width: 500px">
       <h2 class="mb-4 text-center">Codeignter 4 Rotate Image Example</h2>
        <form method='post' action='<?php echo base_url(); ?>/ImgManipulationController/upload'  enctype='multipart/form-data'>
            <div class="form-group">
                <label for="formFileLg" class="form-label">Choose image :</label>
                <input class="form-control form-control-lg" type="file" name="file">
            </div>

            <div class="d-grid mt-3">
                <input type="submit" value="Upload Image" class="btn btn-outline-danger" />
            </div>
        </form>
    </div>
</body>
</html>
Step 8 : Test Codeigniter App
Now, start the Codeigniter project, moreover execute the given url on the browser to view the app in the browser.
php spark serve
Then next run the url in your browser.
http://localhost:8080
Output
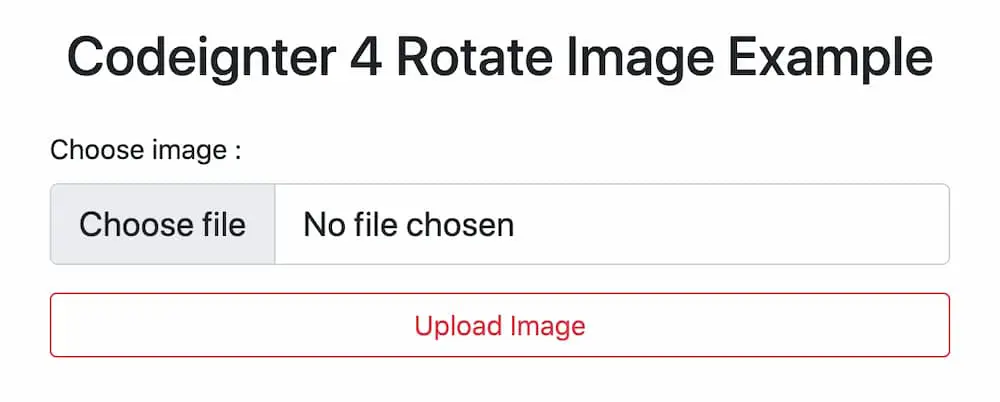
Now you can check your own.
I hope it can help you...
#Codeigniter 4
#Codeigniter
