10-Apr-2023
.
Admin
Hi Guys,
Today, I will learn you how to create laravel 8 multi auth. i would like to share with you laravel 8 multiple auth. This post will give you simple example of laravel 8 multiple authentication.i explained simply step by step multiple authentication in laravel 8.
we will create very simple way and you can easily use with your laravel 8 application. so let's follow this step.
Here, I will give you full example for Laravel 8 multi auth using laravel/ui as bellow.
Step 1: Install Laravel 8 Application
we are going from scratch, So we require to get fresh Laravel application using bellow command, So open your terminal OR command prompt and run bellow command:
composer create-project --prefer-dist laravel/laravel blog
Step 2: Database Configuration
In this step, configure database with your downloded/installed laravel 8 app. So, you need to find .env file and setup database details as following:
DB_CONNECTION=mysql
DB_HOST=127.0.0.1
DB_PORT=3306
DB_DATABASE=db name
DB_USERNAME=db user name
DB_PASSWORD=db password
Step 3: Update Migration and Model
In this step, we need to add new row "is_employee" in users table and model. than we need to run migration. so let's change that on both file.
<?php

use Illuminate\Database\Migrations\Migration;
use Illuminate\Database\Schema\Blueprint;
use Illuminate\Support\Facades\Schema;

class AddIsEmployeeInUsersTable extends Migration
{
    /**
     * Run the migrations.
     *
     * @return void
     */
    public function up()
    {
        Schema::table('users', function (Blueprint $table) {
            $table->boolean('is_employee')->nullable();
        });
    }

    /**
     * Reverse the migrations.
     *
     * @return void
     */
    public function down()
    {
        Schema::table('users', function (Blueprint $table) {
            $table->dropColumn('is_employee');
        });
    }
}
app/Models/User.php
<?php

namespace App\Models;

use Illuminate\Contracts\Auth\MustVerifyEmail;
use Illuminate\Database\Eloquent\Factories\HasFactory;
use Illuminate\Foundation\Auth\User as Authenticatable;
use Illuminate\Notifications\Notifiable;

class User extends Authenticatable
{
    use HasFactory, Notifiable;

    /**
     * The attributes that are mass assignable.
     *
     * @var array
     */
    protected $fillable = [
        'name', 'email', 'password', 'twitter_id', 'is_employee'
    ];

    /**
     * The attributes that should be hidden for arrays.
     *
     * @var array
     */
    protected $hidden = [
        'password', 'remember_token',
    ];

    /**
     * The attributes that should be cast to native types.
     *
     * @var array
     */
    protected $casts = [
        'email_verified_at' => 'datetime',
    ];

    public function addNew($input)
    {
        $check = static::where('twitter_id',$input['twitter_id'])->first();

        if(is_null($check)){
            return static::create($input);
        }

        return $check;
    }
}
Now we need to run migration.
so let's run bellow command:
php artisan migrate
Step 4: Create Auth using scaffold
Here,In this step, I will create auth scaffold command to create login, register and dashboard. so run following commands:
Laravel 8 UI Package
composer require laravel/ui
Generate auth
php artisan ui bootstrap --auth
npm install
npm run dev
Step 5: Create IsEmployee Middleware
In this step, we require to create Employee middleware that will allows only Employee access users to that routes. so let's create Employee user with following steps.
php artisan make:middleware IsEmployee
app/Http/middleware/IsEmployee.php
<?php

namespace App\Http\Middleware;

use Closure;
use Illuminate\Http\Request;

class IsEmployee
{
    /**
     * Handle an incoming request.
     *
     * @param  \Illuminate\Http\Request  $request
     * @param  \Closure  $next
     * @return mixed
     */
    public function handle(Request $request, Closure $next)
    {
        if(auth()->user()->is_employee == 1){
            return $next($request);
        }

        return redirect(‘home’)->with(‘error’,"You don't have emplyee rights.");
    }
}
app/Http/Kernel.php
.......
protected $routeMiddleware = [
  'auth' => \App\Http\Middleware\Authenticate::class,
  'auth.basic' => \Illuminate\Auth\Middleware\AuthenticateWithBasicAuth::class,
  'cache.headers' => \Illuminate\Http\Middleware\SetCacheHeaders::class,
  'can' => \Illuminate\Auth\Middleware\Authorize::class,
  'guest' => \App\Http\Middleware\RedirectIfAuthenticated::class,
  'password.confirm' => \Illuminate\Auth\Middleware\RequirePassword::class,
  'signed' => \Illuminate\Routing\Middleware\ValidateSignature::class,
  'throttle' => \Illuminate\Routing\Middleware\ThrottleRequests::class,
  'verified' => \Illuminate\Auth\Middleware\EnsureEmailIsVerified::class,
  'is_employee' => \App\Http\Middleware\IsEmployee::class,
];
....
Step 6: Create Route
Now, we need to add one more route for User home page so let's add that route in web.php file.
routes/web.php
use App\Http\Controllers\HomeController;
Route::get('employee/home', [HomeController::class, 'employeeHome'])->name('employee.home')->middleware('is_employee');
Step 7: Add Method on Controller
In this step, we need add employeeHome() method for User route in HomeController. so let's add like as bellow:
<?php

namespace App\Http\Controllers;

use Illuminate\Http\Request;

class HomeController extends Controller
{
    /**
     * Create a new controller instance.
     *
     * @return void
     */
    public function __construct()
    {
        $this->middleware('auth');
    }

    /**
     * Show the application dashboard.
     *
     * @return \Illuminate\Contracts\Support\Renderable
     */
    public function index()
    {
        return view('home');
    }

    /**
     * Show the application dashboard.
     *
     * @return \Illuminate\Contracts\Support\Renderable
     */
    public function employeeHome()
    {
        return view('employeeHome');
    }
}
Step 8: Create Blade file
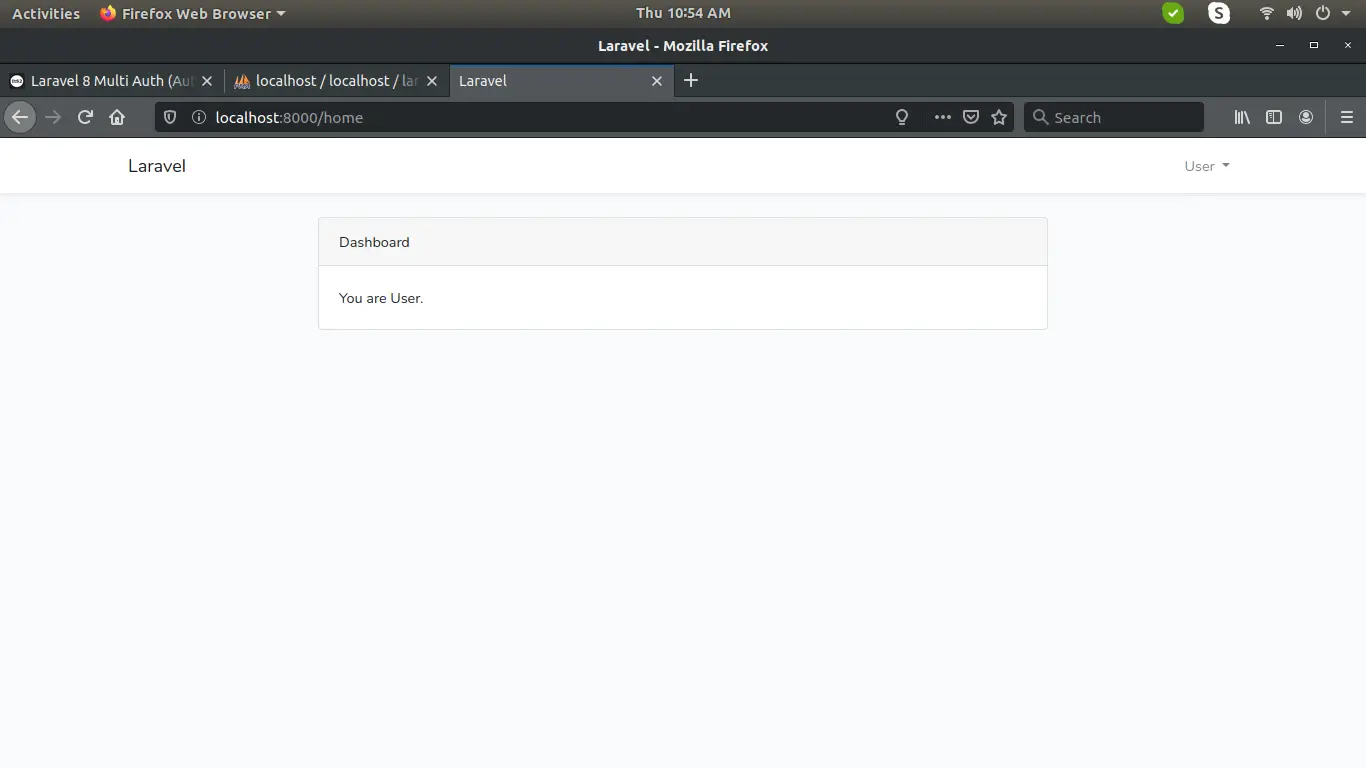
In this step, we need to create new blade file for User and update for user blade file. so let's change it.
resources/views/home.blade.php
@extends('layouts.app')
@section('content')
<div class="container">
    <div class="row justify-content-center">
        <div class="col-md-8">
            <div class="card">
                <div class="card-header">Dashboard</div>
                <div class="card-body">
                    You are User.
                </div>
            </div>
        </div>
    </div>
</div>
@endsection
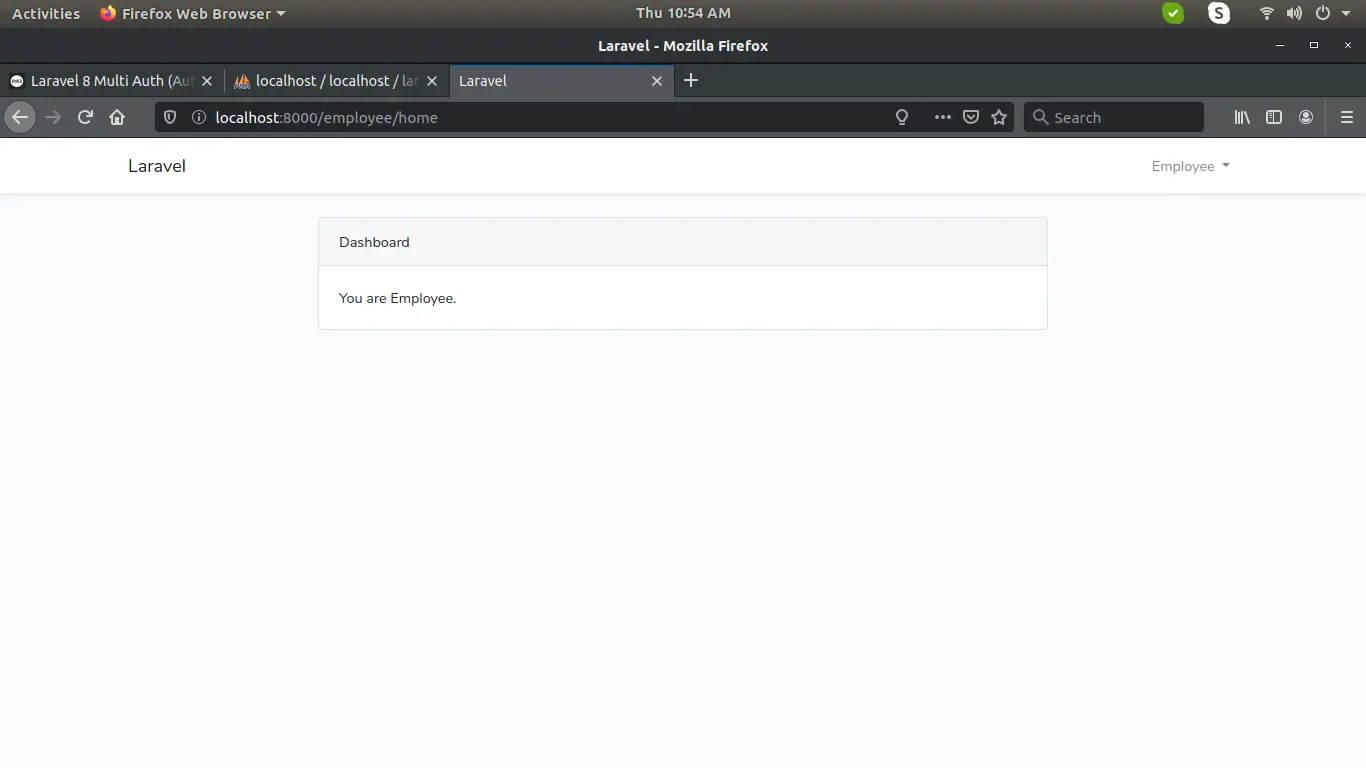
resources/views/employeeHome.blade.php
@extends('layouts.app')

@section('content')
<div class="container">
    <div class="row justify-content-center">
        <div class="col-md-8">
            <div class="card">
                <div class="card-header">Dashboard</div>
                <div class="card-body">
                    You are Employee.
                </div>
            </div>
        </div>
    </div>
</div>
@endsection
Step 9: Update on LoginController
Now In this step, we will change on LoginController, when user will login than we redirect according to user access. if normal user than we will redirect to home route and if User than we redirect to User route. so let's change.
app/Http/Controllers/Auth/LoginController.php
<?php

namespace App\Http\Controllers\Auth;

use App\Http\Controllers\Controller;
use App\Providers\RouteServiceProvider;
use Illuminate\Foundation\Auth\AuthenticatesUsers;
use Illuminate\Http\Request;

class LoginController extends Controller
{
    /*
    |--------------------------------------------------------------------------
    | Login Controller
    |--------------------------------------------------------------------------
    |
    | This controller handles authenticating users for the application and
    | redirecting them to your home screen. The controller uses a trait
    | to conveniently provide its functionality to your applications.
    |
    */

    use AuthenticatesUsers;

    /**
     * Where to redirect users after login.
     *
     * @var string
     */
    protected $redirectTo = RouteServiceProvider::HOME;

    /**
     * Create a new controller instance.
     *
     * @return void
     */
    public function __construct()
    {
        $this->middleware('guest')->except('logout');
    }

    public function login(Request $request)
    {
        $input = $request->all();

        $this->validate($request, [
            'email' => 'required|email',
            'password' => 'required',
        ]);

        if(auth()->attempt(array('email' => $input['email'], 'password' => $input['password']))){
            if (auth()->user()->is_employee == 1) {
                return redirect()->route('employee.home');
            }else{
                return redirect()->route('home');
            }
        }else{
            return redirect()->route('login')->with('error','Email-Address And Password Are Wrong.');
        }
    }
}
Step 10: Create Seeder
We will create seeder for create new User and normal user. so let's create seeder using following command:
php artisan make:seeder UsersSeeder
<?php

namespace Database\Seeders;

use Illuminate\Database\Seeder;
use App\Models\User;

class UsersSeeder extends Seeder
{
    /**
     * Run the database seeds.
     *
     * @return void
     */
    public function run()
    {
        $user = [
            [
               'name'=>'Employee',
               'email'=>'employee@nicesnippets.com',
               'is_employee'=>'1',
               'password'=> bcrypt('123456'),
            ],
            [
               'name'=>'User',
               'email'=>'user@nicesnippets.com',
               'is_employee'=>'0',
               'password'=> bcrypt('123456'),
            ],
        ];

        foreach ($user as $key => $value) {
            User::create($value);
        }
    }
}
Now we are ready to run our laravel 8 multi auth example so run bellow command for quick run:
php artisan serve
Now you can open bellow URL on your browser:
http://localhost:8000/employee/home
User
employee User
It will help you...
#Laravel 8
#Laravel
