10-Apr-2023
.
Admin
-min.png)
In this tutorial, i will share with you how to install and use datatables in laravel 8 application. we will use datatables laravel datatables plugin.
In this article, we will talk about laravel 8 datatables tutorial. i would like to show you yajra datatables laravel 8 example. In this article, we will implement a laravel 8 datatables example. i would like to show you laravel 8 datatables ajax example. you will do the following things for how to use bootstrap datatable in laravel 8.
Datatables provides us quick search, pagination, ordering, sorting and etc. Datatables is basically jQuery plugins that allows you to add advanced interaction controls to your HTML tables data. Datatables also provide ajax for data searching and getting. you can give very quick layout for search and sorting using Datatables. You can also implement Datatables in your laravel application.
I will show laravel 8 datatables tutorial step by step.we will use yajra datatables with laravel 8. i will give you simple example of yajra datatables with ajax in laravel 8. We will explain datatables in laravel 8.
Here I will give you full example for laravel 8 datatable tutorial. So let's follow bellow step by step.
Step 1 : Install Laravel 8
In the first step, we need to get fresh laravel 8 version application So let's open terminal and run bellow command to install fresh laravel project.
composer create-project --prefer-dist laravel/laravel blog
Step 2 : Database Configuration
In second step, we will make database Configuration for example database name, username, password etc for our crud application of laravel 8 So lets open .env file and fill all deatils like as bellow:
.env
DB_CONNECTION=mysql
DB_HOST=127.0.0.1
DB_PORT=3306
DB_DATABASE=here your database name(blog)
DB_USERNAME=here database username(root)
DB_PASSWORD=here database password(root)
Step 3 : Install Yajra Datatable Package
We need to install yajra datatable composer package for datatable, so you can install using following command:
composer require yajra/laravel-datatables-oracle
After that you need to set providers and alias.
config/app.php
.....
'providers' => [
    ....
    Yajra\DataTables\DataTablesServiceProvider::class,
]
'aliases' => [
    ....
    'DataTables' => Yajra\DataTables\Facades\DataTables::class,
]
.....
Step 4 : Create Dummy Records
In this step, we will create some dummy users using tinker factory. so let's create dummy records using bellow command:
php artisan tinker
User::factory()->count(100)->create();
Step 5 : Add Route
Here, we need to add list data users route for users show. so open your "routes/web.php" file and add following route.
routes/web.php
use App\Http\Controllers\UserController;

Route::get('/users', [UserController::class, 'index'])->name('users.index');
Step 6 : Create Controller
In this step, we have to need UserController. So run bellow command and create new controller.
php artisan make:controller UserController
app/Http/Controllers/UserController.php
<?php

namespace App\Http\Controllers;

use Illuminate\Http\Request;
use App\Models\User;
use DataTables;

class UserController extends Controller
{
    public function index(Request $request)
    {
        if ($request->ajax()) {
            $data = User::latest()->get();
            return Datatables::of($data)
                    ->addIndexColumn()
                    ->addColumn('action', function($row){
                        $btn = '<a href="javascript:void(0)" class="edit btn btn-primary btn-sm">View</a>;
                        return $btn;
                    })
                    ->rawColumns(['action'])
                    ->make(true);
        }

        return view('user');
    }
}
Step 7 : Create blade file
In last step. In this step we have to create user blade file. So mainly we have to create user file. So finally you have to create one user blade file:
resources/views/user.blade.php
<!DOCTYPE html>
<html>
<head>
    <title>Laravel 8 Datatable Example</title>
    <meta name="csrf-token" content="{{ csrf_token() }}">
    <link rel="stylesheet" href="https://cdnjs.cloudflare.com/ajax/libs/twitter-bootstrap/4.1.3/css/bootstrap.min.css" />
    <link href="https://cdn.datatables.net/1.10.16/css/jquery.dataTables.min.css" rel="stylesheet">
    <link href="https://cdn.datatables.net/1.10.19/css/dataTables.bootstrap4.min.css" rel="stylesheet">
    <script src="https://ajax.googleapis.com/ajax/libs/jquery/1.9.1/jquery.js"></script>
    <script src="https://cdnjs.cloudflare.com/ajax/libs/jquery-validate/1.19.0/jquery.validate.js"></script>
    <script src="https://cdn.datatables.net/1.10.16/js/jquery.dataTables.min.js"></script>
    <script src="https://stackpath.bootstrapcdn.com/bootstrap/4.1.3/js/bootstrap.min.js"></script>
    <script src="https://cdn.datatables.net/1.10.19/js/dataTables.bootstrap4.min.js"></script>
</head>
<body>
<div class="container">
    <div class="row">
        <div class="col-md-12 mt-5">
            <div class="row">
                <div class="col-md-12 text-center">
                    <h3><strong>Laravel 8 Datatable Example</strong></h3>
                </div>
            </div>
            <table class="table table-bordered data-table">
                <thead>
                    <tr>
                        <th width="50">No</th>
                        <th>Name</th>
                        <th>Email</th>
                        <th width="100px">Action</th>
                    </tr>
                </thead>
                <tbody>
                </tbody>
            </table>
        </div>
    </div>
</div>
</body>
<script type="text/javascript">
  $(function () {
    var table = $('.data-table').DataTable({
        processing: true,
        serverSide: true,
        ajax: "{{ route('users.index') }}",
        columns: [
            {data: 'DT_RowIndex', name: 'DT_RowIndex'},
            {data: 'name', name: 'name'},
            {data: 'email', name: 'email'},
            {data: 'action', name: 'action', orderable: false, searchable: false},
        ]
    });
  });
</script>
</html>
Now we are ready to run our crud application example with laravel 8 so run bellow command for quick run:
php artisan serve
Now you can open bellow URL on your browser:
localhost:8000/users
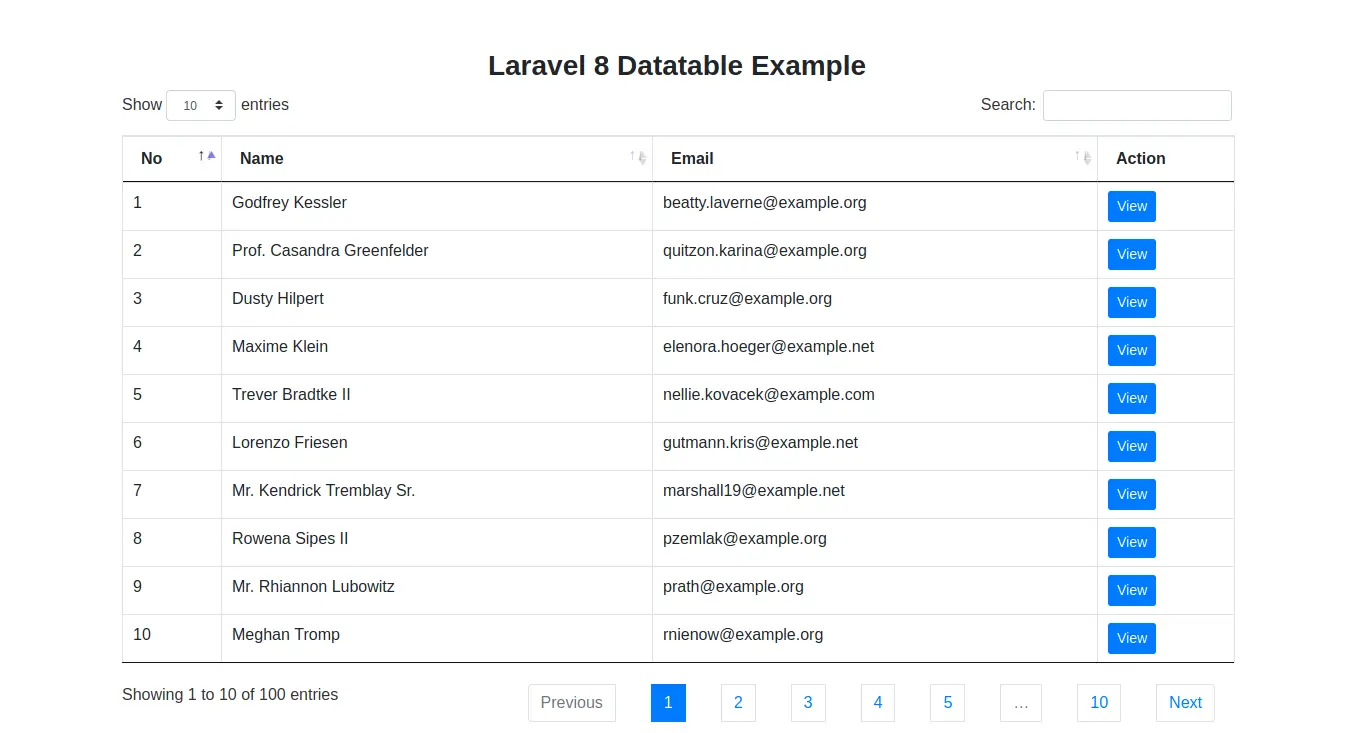
You will see layout as like bellow:
List Page
It will help you...
#Laravel 8
#Laravel
