01-Jun-2023
.
Admin
Hi Guys,
This post will give you an example of laravel 10 install font awesome icons example. you can understand the concept of how to install font awesome icons in laravel 10. it's a simple example of installing font awesome icons example. let’s discuss how to install font awesome icons example.
Here, I will show you how to works install font Awesome in laravel. we will help you to give examples of how to use font awesome icons in laravel. We will use laravel mix and add font awesome. we will help you to give an example of how to install font awesome in laravel.
In this example, I will show you step-by-step how to install font awesome icons in laravel mix. I will give you two examples of installing font awesome in laravel. one will be using the npm command using laravel mix and another example will be using cdn js.
You can easily use the font awesome icon in laravel 8 and laravel 7 versions. so let's see bellow step by step process.
Step 1: Download Laravel
Let us begin the tutorial by installing a new laravel application. if you have already created the project, then skip the following step.
composer create-project laravel/laravel example-app
Step 2: Install using Npm
Now, we need to install npm in our new laravel application. so let's simply run the below command. this command will create a "mode_modules" folder in your root directory and store all npm modules there.
npm install
After that, we need to install the font awesome library using the below npm command. so let's run bellow command:
npm install font-awesome --save
After installing successfully, we need to import font awesome css on the app.scss file. so let's import as below:
resources/sass/app.scss
@import "node_modules/font-awesome/scss/font-awesome.scss";
Now we are ready to run the npm dev command, so let's run the bellow command:
npm run dev
Here, we will use generated app.css file in our blade file as below:
resources/views/welcome.blade.php
<!DOCTYPE html>
<html>
<head>
    <title>How To Use Font Awesome In Laravel? - NiceSnippets.com</title>
    <link type="text/css" rel="stylesheet" href="{{ mix('css/app.css') }}">
    <style type="text/css">
        i{
            font-size: 50px !important;
            padding: 10px;
        }
    </style>
</head>
<body>
   <h1>How To Use Font Awesome In Laravel? - NiceSnippets.com</h1>
   <i class="fa fa-copy"></i>
   <i class="fa fa-save"></i>
   <i class="fa fa-trash"></i>
   <i class="fa fa-home"></i>
</body>
</html>
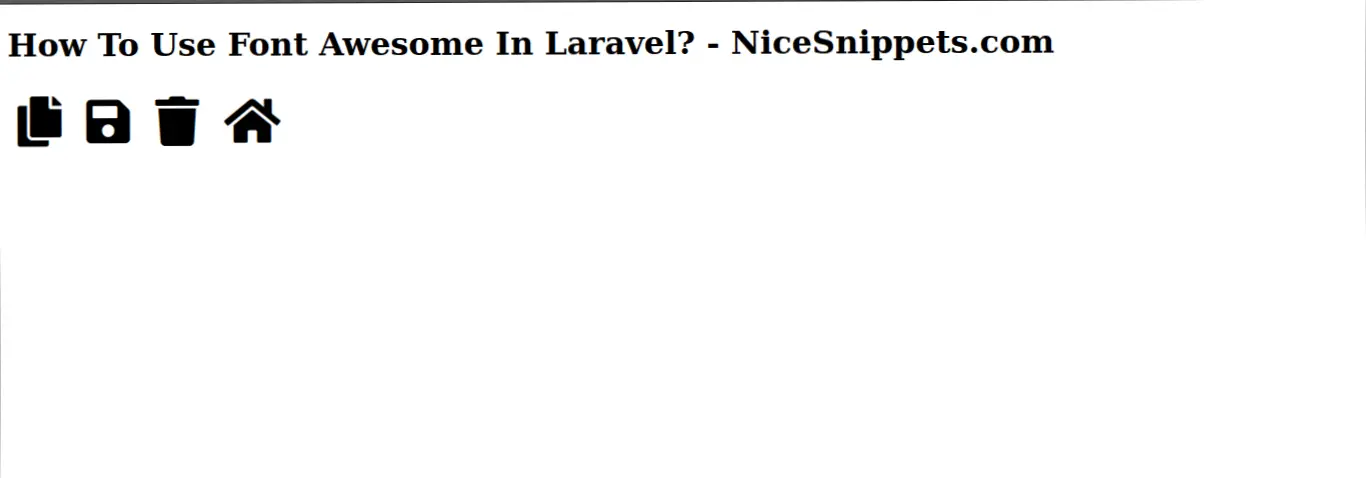
Now you can run your application and see it on the home page. You will get the layout below:
Step 3: Install using CDNJS
here, we will use a CDN js file for adding font awesome icons, so let's see bellow file code:
resources/views/welcome.blade.php
<!DOCTYPE html>
<html>
<head>
    <title>How To Use Font Awesome In Laravel 10? - NiceSnippets.com</title>
    <link rel="stylesheet" href="https://cdnjs.cloudflare.com/ajax/libs/font-awesome/5.12.0-2/css/fontawesome.min.css" />
    <link rel="stylesheet" href="https://cdnjs.cloudflare.com/ajax/libs/font-awesome/5.12.0-2/css/all.min.css" />
    <style type="text/css">
        i{
            font-size: 50px !important;
            padding: 10px;
        }
    </style>
</head>
<body>
   <h1>How To Use Font Awesome In Laravel? - NiceSnippets.com</h1>
   <i class="fa fa-copy"></i>
   <i class="fa fa-save"></i>
   <i class="fa fa-trash"></i>
   <i class="fa fa-home"></i>
</body>
</html>
Output :

I hope it can help you...
#Laravel 10