13-Jul-2023
.
Admin
Hello Friends,
In this tutorial we will go over the demonstration of how to install lamp stack with aws ec2 on ubuntu. I’m going to show you about install lamp on amazon linux. it's simple example of install lamp on amazon linux. In this article, we will implement a install lamp server on aws ec2 using Ubuntu.
Install LAMP (Linux, Apache, MySQL, PHP) on an Ubuntu EC2 instance. In this tutorial, you will learn step-by-step how to install PHP and MySQL on Ubuntu 20.04 AWS EC2.
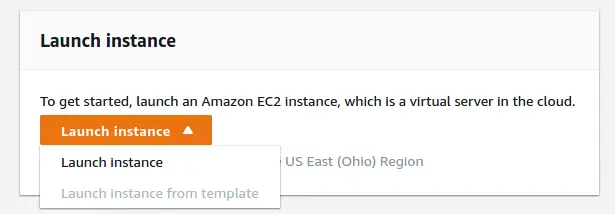
Step 1: Launching a Virtual Machine
Log into the AWS EC2 Management Console, and click on the button Launch Instance.
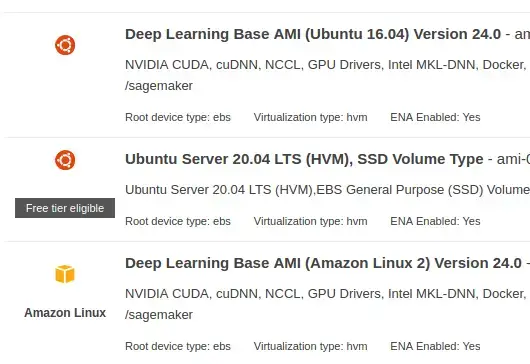
Step 2: Selecting Virtual Machine Specs
1. Clicking Launch Instance will take us to a page where the specs for virtual machine can be chosen.Select Ubuntu Server 20.04 LTS(HVM), SSD Volume Type.
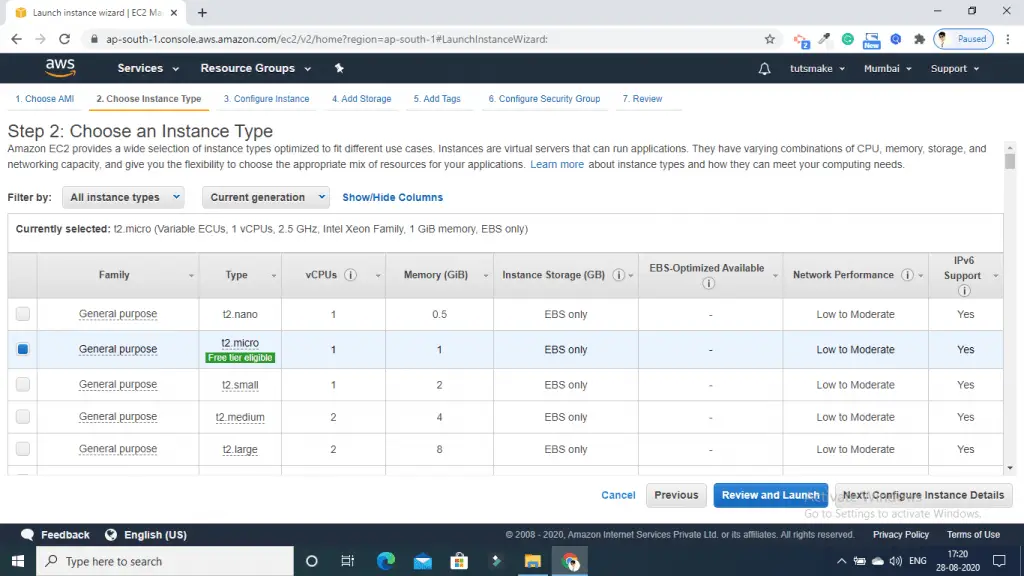
2. In the next screen we are going with t2.micro instance which is Free Tier Eligible.
3. For the section Configure Instance — go for default settings.
4. For the section Add Storage — go for default settings.
5. For the section Add Tags — go for default settings.
6. For the section Configure Security Group — add HTTP rule. HTTP is required for the web server that will be installed shortly.
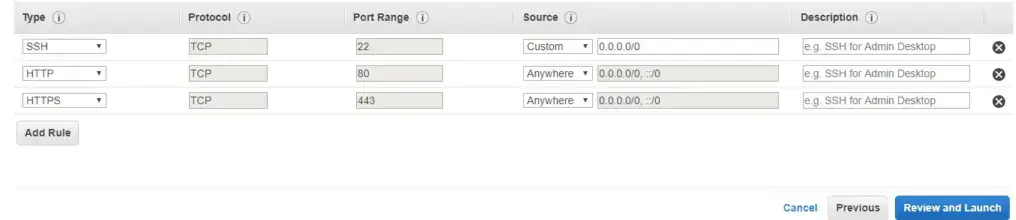
7. We can also setup rules regarding IP addresses that can access the added protocols. For the tutorial, both the protocols are open to all IP addresses. If required, this can be edited later as well.
8. Clicking Review and Launch button in this page takes us to a page where we can review our instance settings. Click on the Launch button.
Creating and Downloading a Key Pair
After clicking on the Launch button, the next page will present with options for Key file. This key file is used to connect to the EC2 instance from our system.
Choose the option Create a new key pair and download the key file.
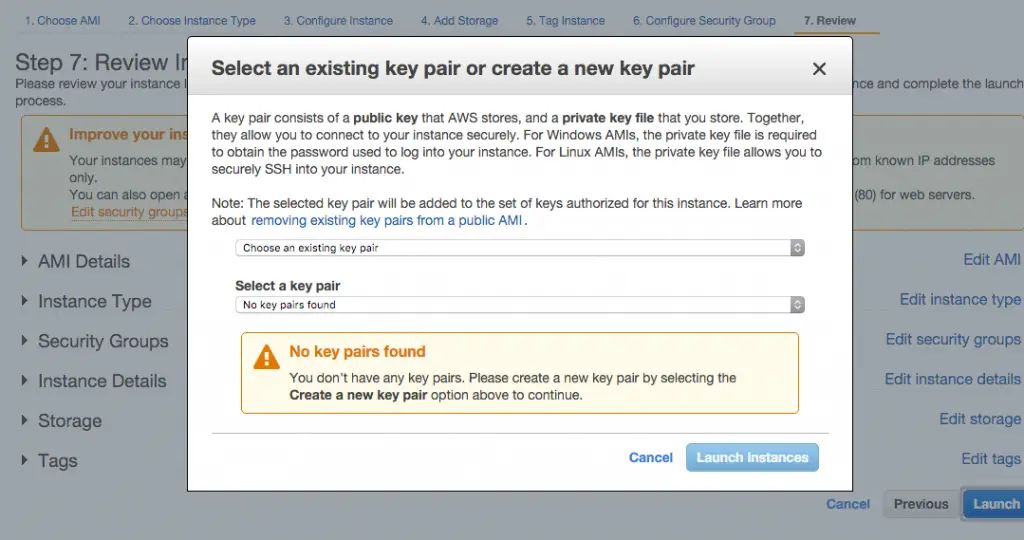
With the key file downloaded, the button for launching the instance became active. Clicking that button is the last step to launch the AWS instance.
With the successful launch of the instance, we will be redirected to the page which gives a success message that instance is being launched.
Click on the button View Instances redirects us to the EC2 management console. This will contain the public DNS & public IP address of instance which will be required in the later steps.
(From the next step on-wards we need to connect to the virtual machine from our system and execute commands on it through a terminal / shell)
Step 3: Connect Your AWS EC2 Instance from SSH
First of all, you need to connect your aws ec2 instance from ssh. If you are new to connect aws ec2 instance with windows, ubuntu and mac system. So you can read this tutorial “How to Connect to ec2 Instance From Putty and SSH Terminal” to connect your ec2 instance from ssh.
Step 4: Install Apache
In this step, you need to download the latest version of the software by first updating the local package index of Ubuntu repositories. So, start your ssh terminal and type the below given command:
sudo apt update
In this step, use the below given command to install apache 2 into your ubuntu web server. So, open ssh terminal again and run this sudo command to install apache web server on aws ec2 instance:
sudo apt install apache2
Note that, on running installation of apache 2 web server on aws ec2 instance. The prompt box will be open with a “Y/N” option to continue the installation.
Please enter Y, after which the installation process will begin.
Verify the Apache installation
pInstalling Apache2 web server on your Ubuntu 20.04 EC2 instance is completed. So, open your ssh terminal and type the below command to check the Apache 2 is installed or not on our Ubuntu 20.04 aws EC2 instance:
apache2 -version
Congratulation!!, You have successfully installed the Apache 2 web server on AWS ec2 instance.
If you want to access it from outside. So, you need to update firewall settings on your apache 2 web server on your Ubuntu 20.04 EC2 instance.
List the UFW application profiles
In this step, open your terminal ssh and type the following command to list such available firewall ufw applications,:
sudo ufw app list
Then you will see a list of the application profiles:
OutputAvailable applications:
    Apache
    Apache Full
    Apache Secure
    OpenSSH
As indicated by the output, there are three profiles available for Apache:
Allow Apache Full on UFW
In this step, you need to allow Apache Full on UFW will open port 80 and 443 for network traffic, while providing maximum security to the server. So, use the below given UFW command to allow Apache Full through the following command:
sudo ufw allow 'Apache Full'
You can verify the change by typing:
sudo ufw status
The output will provide a list of allowed HTTP traffic:
OutputStatus: active

To                         Action      From
--                         ------      ----
OpenSSH                    ALLOW       Anywhere
Apache                     ALLOW       Anywhere
OpenSSH (v6)               ALLOW       Anywhere (v6)
Apache (v6)                ALLOW       Anywhere (v6)
Verify that the Apache service is running
sudo systemctl status apache2
Finally, open your browser and type your AWS ec2 instance IP address. And, it will be looks like the Apache 2 page in the following picture:

install apache 2 web server on amazon ec2
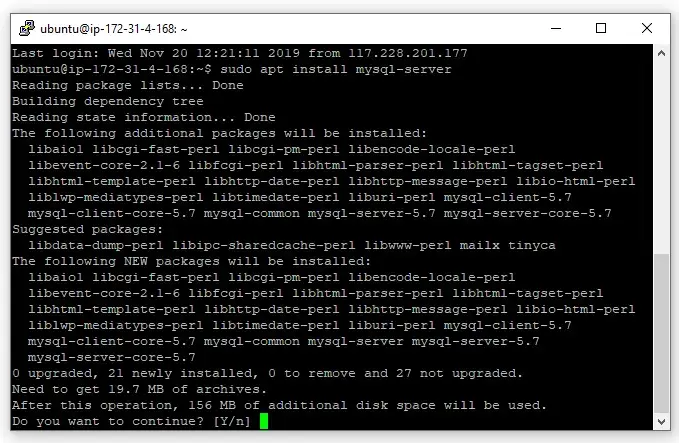
Step 5: Install MySQL on AWS EC2 Ubuntu
In this step, open your ssh terminal and type the following command to install MySql Server:
sudo apt-get install mysql-server
Then, secure MySql server by using the following command. So, you will need to set the root password of the database and secure it using the following command :
sudo mysql_secure_installation
When you run this command. Then the questions given below in the prompt will appear:
sudo mysql -u root -p
The above command will ask for the password. Enter the password what you enter while the securing the MySQL and hit enter will login into MySQL:

Now, Type exit on ssh terminal to get out of MySql:
exit
Step 6: Install PHP Amazon EC2 Ubuntu
In this step, install PHP with it’s common extensions. So open your ssh terminal and type the following command
sudo apt-get install php libapache2-mod-php php-mysql php-curl php-gd php-json php-zip php-mbstring
After successfully installed PHP on ubuntu amazon ec2 instance. Now, you need to configure dir.conf file by using the following sudo nano command:
sudo nano /etc/apache2/mods-enabled/dir.conf
It will look like this:
<IfModule mod_dir.c>
    DirectoryIndex index.html index.cgi index.pl index.php index.xhtml index.htm
</IfModule>
Move the PHP index file to the first position after the DirectoryIndex specification, like this:
<IfModule mod_dir.c>
    DirectoryIndex index.php index.html index.cgi index.pl index.xhtml index.htm
</IfModule>
Step 7: Restart Apache Web Server
After successfully installed PHP MySQL and configure these on ubuntu amazon ec2 instance.
Finally, You need to restart Apache 2 server by using the following command:
sudo service apache2 restart
I hope it can help you...
#Ubuntu
