10-Apr-2023
.
Admin

Hi friends,
Today, I am going to show you simple example of how to upload file using ajax in laravel 9?. In this tutorial you can find how to upload file on folder by using Ajax in Laravel 9. In this article we explain how to upload file in laravel 9 using ajax jquery Example. This example explain you Laravel 9 – Ajax file upload example tutorial step by step. More then times we need to save the file data with ajax request in laravel 9 app without page reload and refresh. In this laravel 9 jquery ajax file upload tutorial i will show you how to upload file using ajax request. Also we will see how to validate the file before uploading it into server.
If you know laravel form submit using ajax then uploading file in laravel using ajax and save in database it too easy. Call the store method with the path at which you wish to store the uploaded file.
We can upload file using Ajax request in laravel 9 very easily. Let's start our laravel 9 ajax file upload tutorial from scratch.
Step 1: Download Laravel
Let us begin the tutorial by installing a new laravel application. if you have already created the project, then skip following step.
composer create-project laravel/laravel example-app
Step 2: Add Migration and Model
Here, we will create migration for "files" table, let's run bellow command and update code.
php artisan make:migration create_images_table
2022_02_23_054554_create_images_table.php
<?php

use Illuminate\Database\Migrations\Migration;
use Illuminate\Database\Schema\Blueprint;
use Illuminate\Support\Facades\Schema;

return new class extends Migration
{
    /**
     * Run the migrations.
     *
     * @return void
     */
    public function up()
    {
        Schema::create('images', function (Blueprint $table) {
            $table->id();
            $table->string('name');
            $table->timestamps();
        });
    }

    /**
     * Reverse the migrations.
     *
     * @return void
     */
    public function down()
    {
        Schema::dropIfExists('images');
    }
};
Next, run create new migration using laravel migration command as bellow:
php artisan migrate
Now we will create File model by using following command:
php artisan make:model File
app/Models/File.php
<?php

namespace App\Models;

use Illuminate\Database\Eloquent\Factories\HasFactory;
use Illuminate\Database\Eloquent\Model;

class File extends Model
{
    use HasFactory;

    protected $table = 'images';

    protected $fillable = [
        'name'
    ];
}
Step 3: Add Controller
In this step, we will create a new FileUploadController; in this file, we will add two method index() and store() for render view and store files into folder and database logic.
Let's create FileUploadController by following command:
php artisan make:controller FileUploadController
next, let's update the following code to Controller File.
app/Http/Controllers/FileUploadController.php
<?php

namespace App\Http\Controllers;

use Illuminate\Http\Request;
use App\Models\File;

class FileUploadController extends Controller
{
    /**
     * Display a listing of the resource.
     *
     * @return \Illuminate\Http\Response
     */
    public function index()
    {
        return view('fileUpload');
    }

    /**
     * Display a listing of the resource.
     *
     * @return \Illuminate\Http\Response
     */
    public function store(Request $request)
    {
        $request->validate([
            'file' => 'required|mimes:doc,docx,pdf,zip,rar|max:2048',
        ]);

        $fileName = time().'.'.$request->file->extension();

        $request->file->move(public_path('file'), $fileName);

        File::create(['name' => $fileName]);

        return response()->json('File uploaded successfully');
    }
}
Store Files in Storage Folder
$file->storeAs('files', $fileName);

// storage/app/files/file.pdf
Store Files in Public Folder
$file->move(public_path('files'), $fileName);

// public/files/file.pdf
Store Files in S3
$file->storeAs('files', $fileName, 's3');
Step 4: Add Routes
Furthermore, open routes/web.php file and add the routes to manage GET and POST requests for render view and store file logic.
routes/web.php
<?php

use Illuminate\Support\Facades\Route;

use App\Http\Controllers\FileUploadController;

/*
|--------------------------------------------------------------------------
| Web Routes
|--------------------------------------------------------------------------
|
| Here is where you can register web routes for your application. These
| routes are loaded by the RouteServiceProvider within a group which
| contains the "web" middleware group. Now create something great!
|
*/

Route::controller(FileUploadController::class)->group(function(){
    Route::get('file-upload', 'index');
    Route::post('file-upload', 'store')->name('file.store');
});
Step 5: Add Blade File
At last step we need to create fileUpload.blade.php file and in this file we will create form with file input button and written jquery ajax code. So copy bellow and put on that file.
resources/views/fileUpload.blade.php
<!DOCTYPE html>
<html>
<head>
    <title>How to Upload File using Ajax in Laravel 9? - Nicesnippets.com</title>
    <link href="https://cdn.jsdelivr.net/npm/bootstrap@5.0.2/dist/css/bootstrap.min.css" rel="stylesheet">
    <script src="https://cdnjs.cloudflare.com/ajax/libs/jquery/3.6.0/jquery.min.js" integrity="sha512-894YE6QWD5I59HgZOGReFYm4dnWc1Qt5NtvYSaNcOP+u1T9qYdvdihz0PPSiiqn/+/3e7Jo4EaG7TubfWGUrMQ==" crossorigin="anonymous" referrerpolicy="no-referrer"></script>
</head>
<body>

<div class="container">

    <div class="panel panel-primary card mt-5">

        <div class="panel-heading text-center mt-4">
            <h2>How to Upload File using Ajax in Laravel 9? - Nicesnippets.com</h2>
        </div>

        <div class="panel-body card-body">

            <form action="{{ route('file.store') }}" method="POST" id="file-upload" enctype="multipart/form-data">
                @csrf

                <div class="mb-3">
                    <label class="form-label" for="inputFile">Select File:</label>
                    <input
                        type="file"
                        name="file"
                        id="inputFile"
                        class="form-control">
                    <span class="text-danger" id="file-input-error"></span>
                </div>

                <div class="mb-3">
                    <button type="submit" class="btn btn-success">Upload</button>
                </div>

            </form>

        </div>
    </div>

</div>

</body>

<script type="text/javascript">

    $.ajaxSetup({
        headers: {
            'X-CSRF-TOKEN': $('meta[name="csrf-token"]').attr('content')
        }
    });

    $('#file-upload').submit(function(e) {
        e.preventDefault();
        let formData = new FormData(this);
        $('#file-input-error').text('');

        $.ajax({
            type:'POST',
            url: "{{ route('file.store') }}",
            data: formData,
            contentType: false,
            processData: false,
            success: (response) => {
                if (response) {
                    this.reset();
                    alert('File has been uploaded successfully');
                }
            },
            error: function(response){
                $('#file-input-error').text(response.responseJSON.message);
            }
       });
    });

</script>

</html>
Run Laravel App:
All steps have been done, now you have to type the given command and hit enter to run the laravel app:
php artisan serve
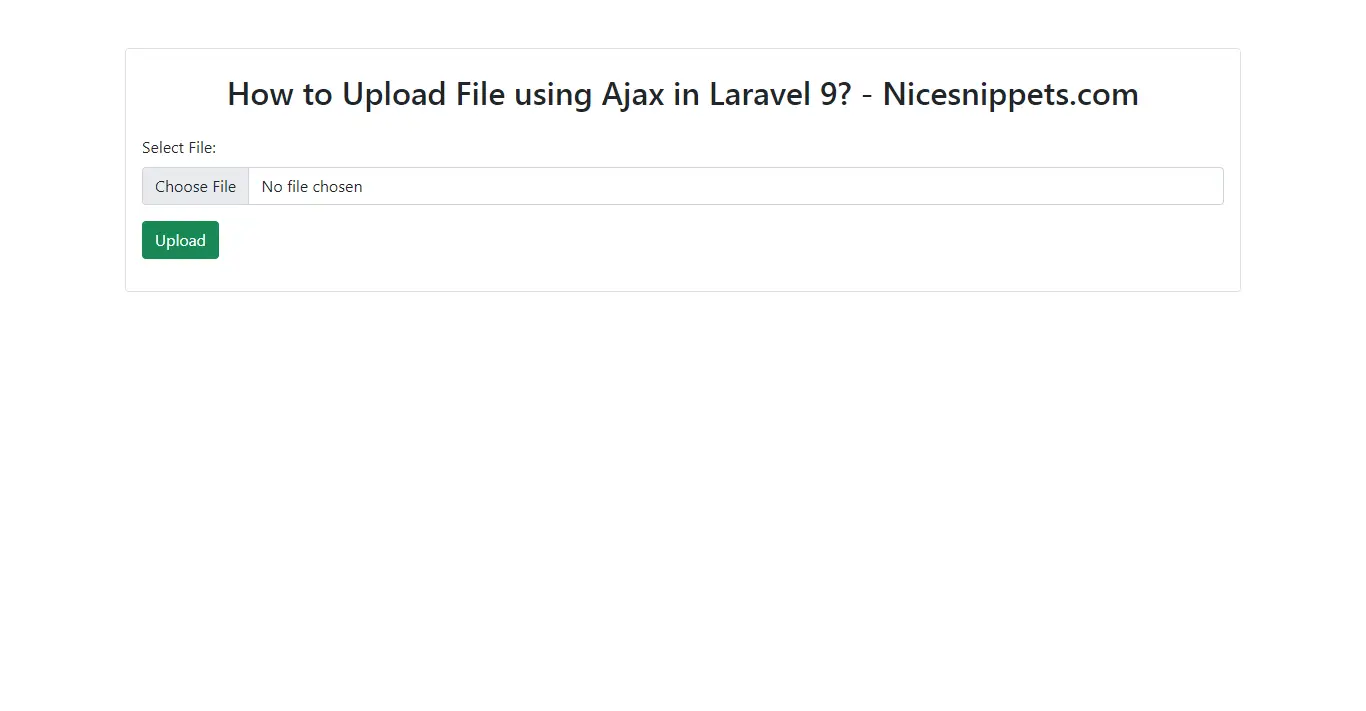
Now, you have to open web browser, type the given URL and view the app output:
http://localhost:8000/file-upload
Output:

I hope it can help you...
#Laravel 9