02-Apr-2024
.
Admin

Hi, Dev
Today, I'll guide you through the process of implementing flash messages in a Laravel 11 application. We'll leverage Bootstrap 5 alerts to display flash messages such as success, error, warning, and info.
In our Laravel 11 projects, we'll establish different types of flash message notifications: alert-success, alert-danger, alert-info, and alert-warning. These messages will be triggered based on various outcomes in our controller methods. For instance, a success flash message will accompany successful tasks, while an error flash message will indicate encountered errors.
The necessity of flash messages in a Laravel 11 application lies in their ability to provide users with alerts about completed tasks, encountered errors, warnings, and more. Throughout this tutorial, I'll explore multiple approaches to implementing flash messages, including redirecting with a success message, redirecting with an error message, redirecting with a warning message, and redirecting with an info message. We'll adopt a Bootstrap flash alert layout to enhance the visual appeal of our messages.
So, let's dive into the process. Integrating flash messages into your Laravel 11 application involves just three basic steps. Let's get started by following these steps:
Step 1: Create Global File For Flash Message
In the first step, we will create a new Blade file flash-messages.blade.php. In this file, we will write the code for Bootstrap alert and check which messages come.
The following alerts will be added:
1)success
2)error
3)warning
4)info
5)validation error
So, let's create flash-messages.blade.php file and put the below code on that file.
resources/views/layouts/flash-messages.blade.php
@session('success')
<div class="alert alert-success alert-dismissible fade show" role="alert">
    {{ $value }}
    <button type="button" class="btn-close" data-bs-dismiss="alert" aria-label="Close"></button>
</div>
@endsession

@session('error')
<div class="alert alert-danger alert-dismissible fade show" role="alert">
    {{ $value }}
    <button type="button" class="btn-close" data-bs-dismiss="alert" aria-label="Close"></button>
</div>
@endsession

@session('warning')
<div class="alert alert-warning alert-dismissible fade show" role="alert">
    {{ $value }}
    <button type="button" class="btn-close" data-bs-dismiss="alert" aria-label="Close"></button>
</div>
@endsession

@session('info')
<div class="alert alert-info alert-dismissible fade show" role="alert">
    {{ $value }}
    <button type="button" class="btn-close" data-bs-dismiss="alert" aria-label="Close"></button>
</div>
@endsession

@if ($errors->any())
<div class="alert alert-danger alert-dismissible fade show" role="alert">
    <strong>Please check the form below for errors</strong>
    <button type="button" class="btn-close" data-bs-dismiss="alert" aria-label="Close"></button>
</div>
@endif
Step 2: Use Flash Message in Theme
In this step, we have to include the flash-messages.blade.php file in your theme's default file. You just have to include this flash file in your default theme blade file as below:
@include('flash-messages')
You can also see I added a flash file to my theme, so you can add it that way. Let's see below example:
resources/views/layouts/app.blade.php
<!doctype html>
<html lang="{{ str_replace('_', '-', app()->getLocale()) }}">
<head>
    <meta charset="utf-8">
    <meta name="viewport" content="width=device-width, initial-scale=1">

    <!-- CSRF Token -->
    <meta name="csrf-token" content="{{ csrf_token() }}">

    <title>{{ config('app.name', 'Laravel') }}</title>

    <!-- Fonts -->
    <link rel="dns-prefetch" href="//fonts.bunny.net">
    <link href="https://fonts.bunny.net/css?family=Nunito" rel="stylesheet">

    <!-- Scripts -->
    @vite(['resources/sass/app.scss', 'resources/js/app.js'])
</head>
<body>
    <div id="app">
        <nav class="navbar navbar-expand-md navbar-light bg-white shadow-sm">
            <div class="container">
                <a class="navbar-brand" href="{{ url('/') }}">
                    {{ config('app.name', 'Laravel') }}
                </a>
                <button class="navbar-toggler" type="button" data-bs-toggle="collapse" data-bs-target="#navbarSupportedContent" aria-controls="navbarSupportedContent" aria-expanded="false" aria-label="{{ __('Toggle navigation') }}">
                    <span class="navbar-toggler-icon"></span>
                </button>

                <div class="collapse navbar-collapse" id="navbarSupportedContent">
                    <!-- Left Side Of Navbar -->
                    <ul class="navbar-nav me-auto">

                    </ul>

                    ...

                </div>
            </div>
        </nav>

        <main class="py-4">

            @include('layouts.flash-messages')

            @yield('content')

        </main>
    </div>
</body>
</html>
Step 3: Use Flash Messages with Redirect
In this step, we will learn how to give a message when you redirect one by one.
1. Redirect with success message
We can simply redirect a route or redirect a URL or redirect back with a success flash message. We can use it in the controller like this:
<?php
namespace App\Http\Controllers;
use Illuminate\Http\Request;
use App\Models\User;
class UserController extends Controller
{
/**
* Display a listing of the resource.
*
* @return \Illuminate\Http\Response
*/
public function store()
{
$this->validate($request,[
'name' => 'required',
'email' => 'required',
'password' => 'required'
]);
$user = User::create($request->all());
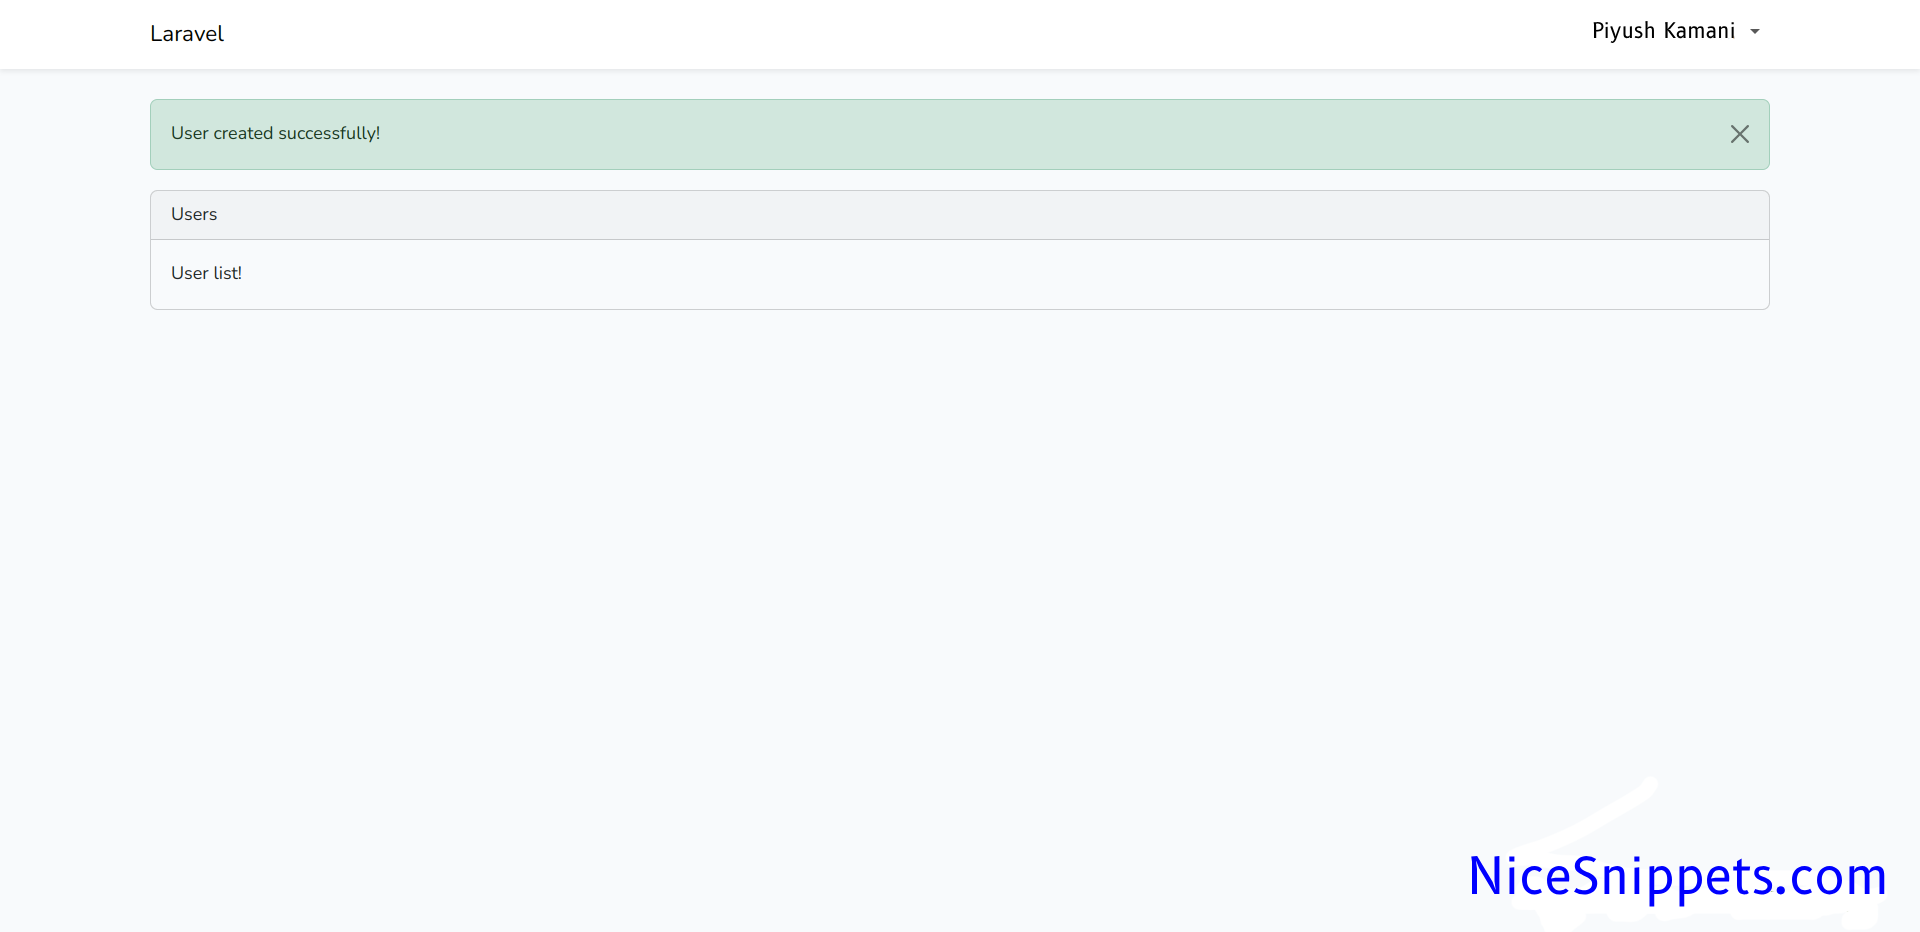
return back()->with('success', 'User created successfully!');
}
}
You can get layout of success flash message:
2. Redirect with error message
We can simply redirect the route or redirect the URL or redirect back with an error flash message. We can use it in the controller like this:
<?php
namespace App\Http\Controllers;
use Illuminate\Http\Request;
class UserController extends Controller
{
/**
* Display a listing of the resource.
*
* @return \Illuminate\Http\Response
*/
public function index()
{
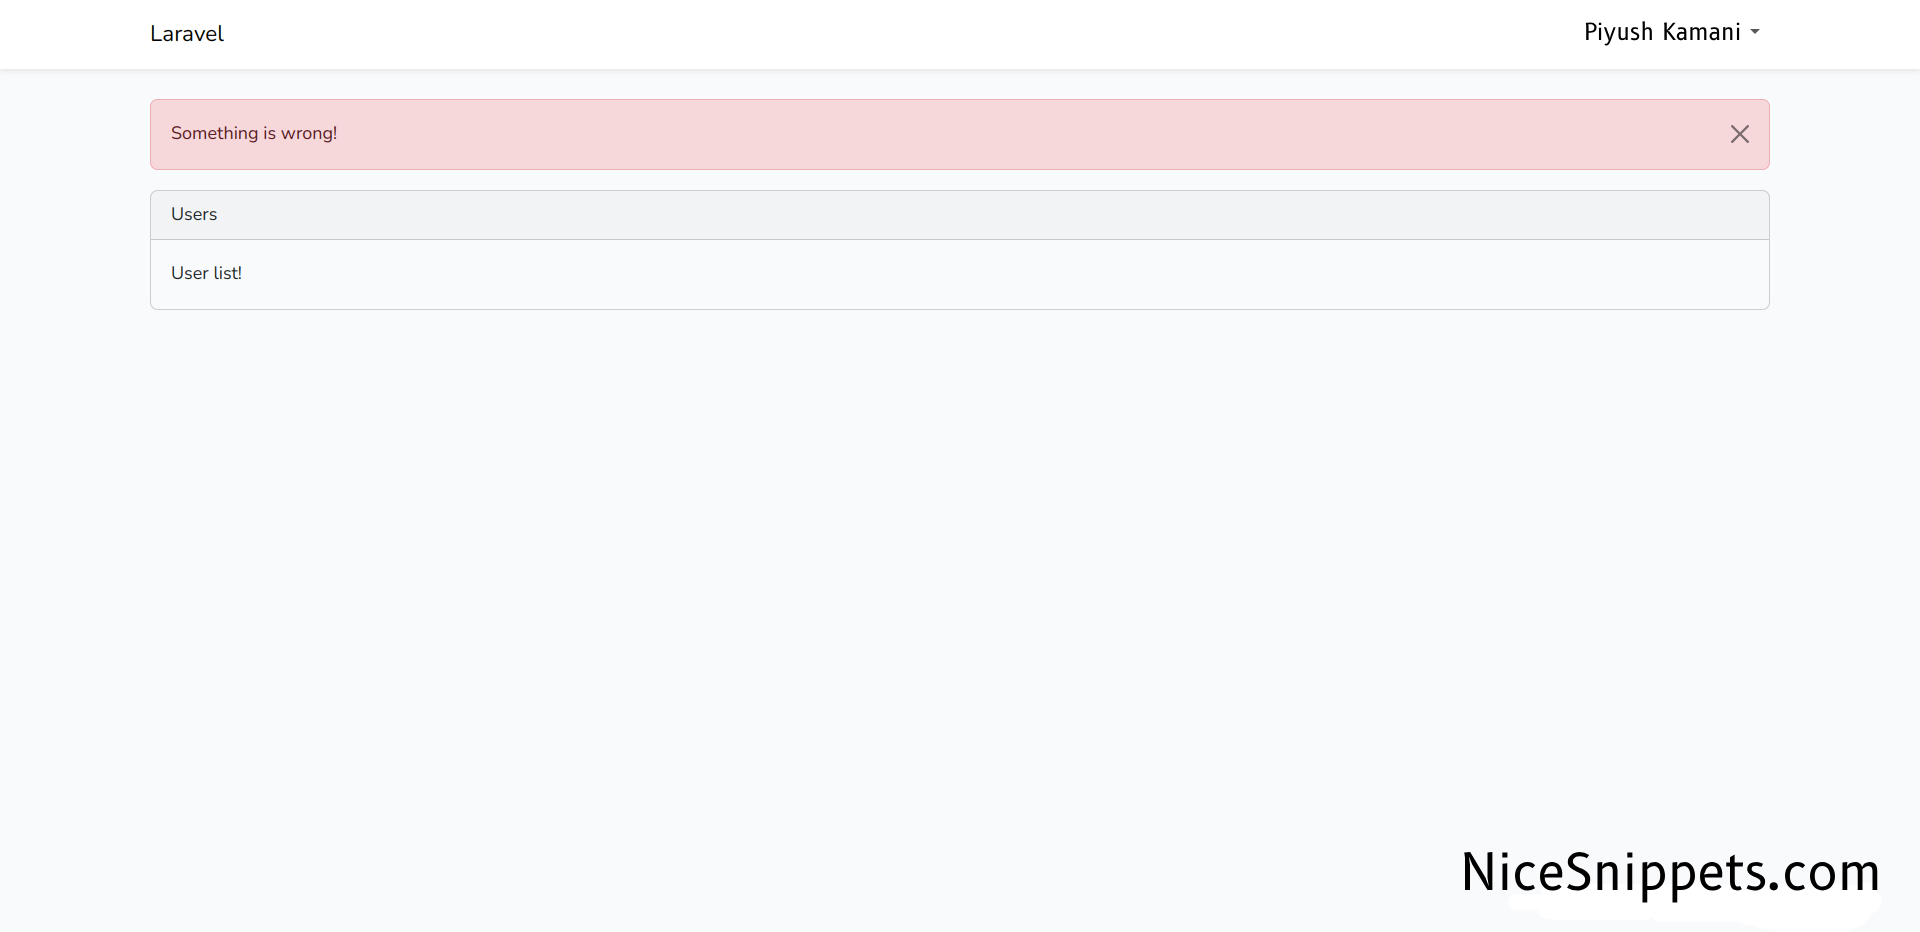
return redirect()->route('home')
->with('error', 'Something is wrong!');
}
}
You can get layout of error flash message:
3. Redirect with warning message
We can simply redirect the route or redirect the URL or redirect back with a warning flash message. We can use it in the controller like this:
<?php
namespace App\Http\Controllers;
use Illuminate\Http\Request;
class UserController extends Controller
{
/**
* Display a listing of the resource.
*
* @return \Illuminate\Http\Response
*/
public function index()
{
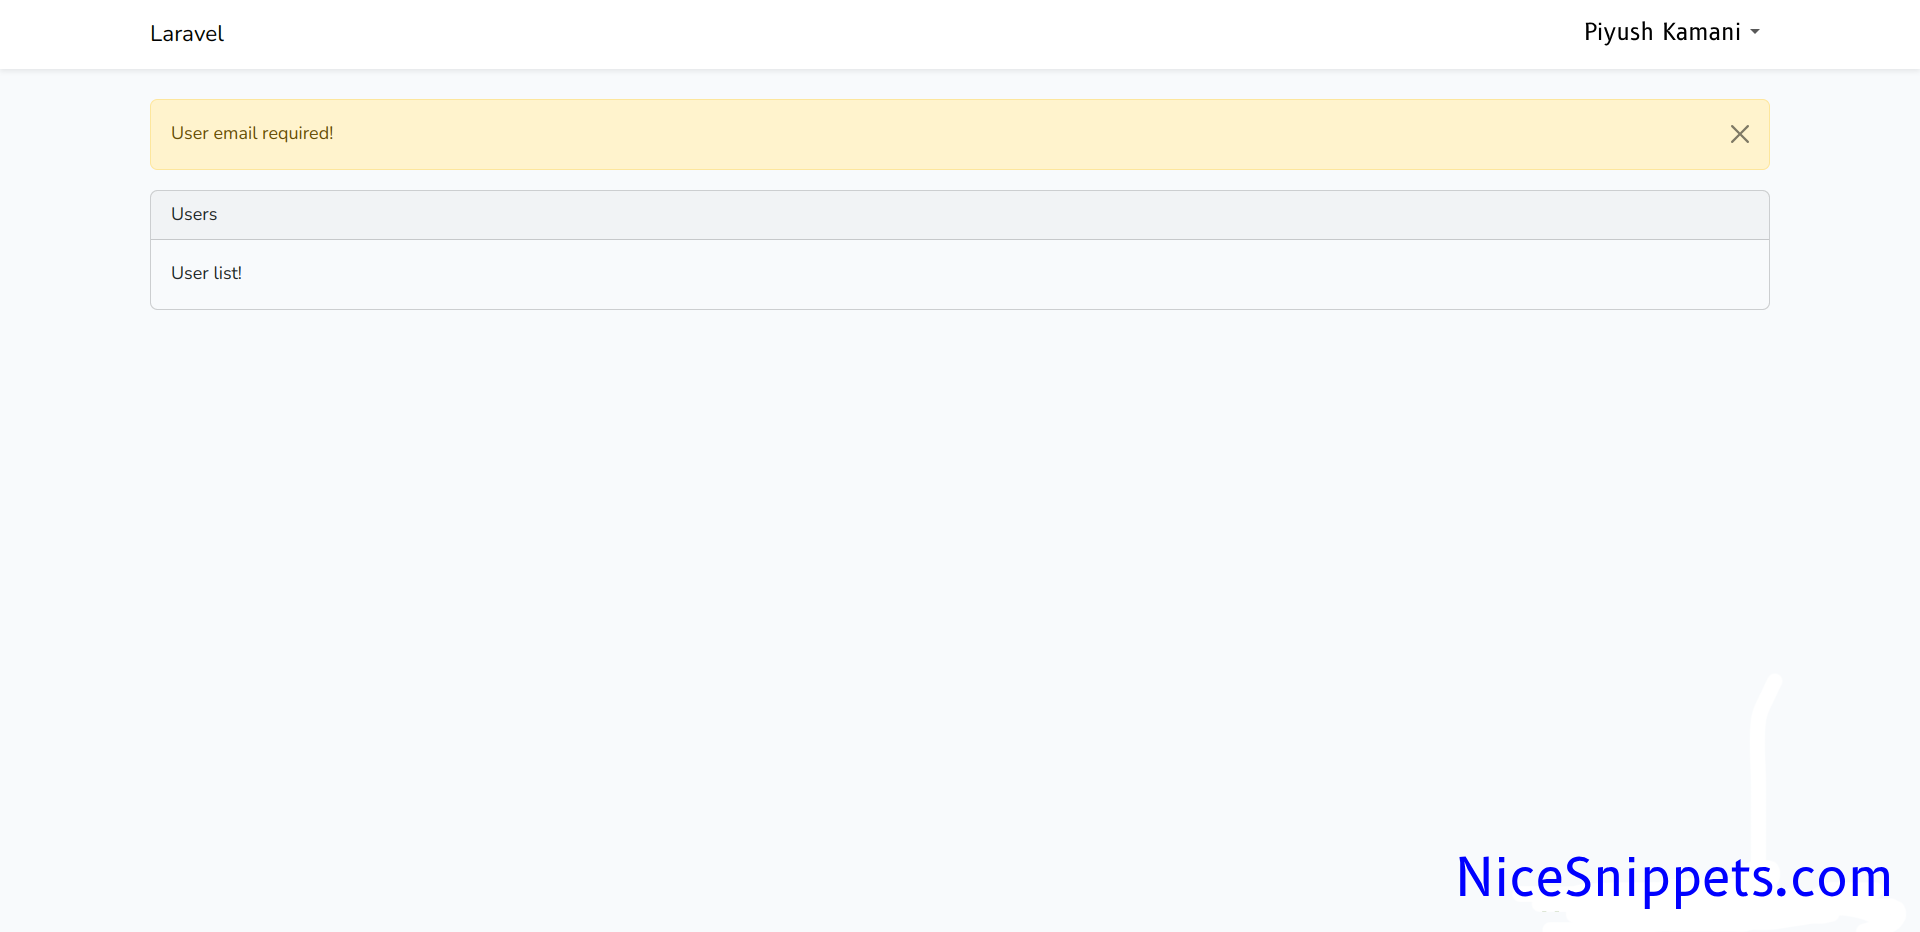
return redirect()->route('home')
->with('warning', 'User email required!');
}
}
You can get layout of warning flash message:
4. Redirect with info message
We can simple redirect route or redirect url or redirect back with info flash message, we can use in controller like this way:
<?php
namespace App\Http\Controllers;
use Illuminate\Http\Request;
class UserController extends Controller
{
/**
* Display a listing of the resource.
*
* @return \Illuminate\Http\Response
*/
public function index()
{
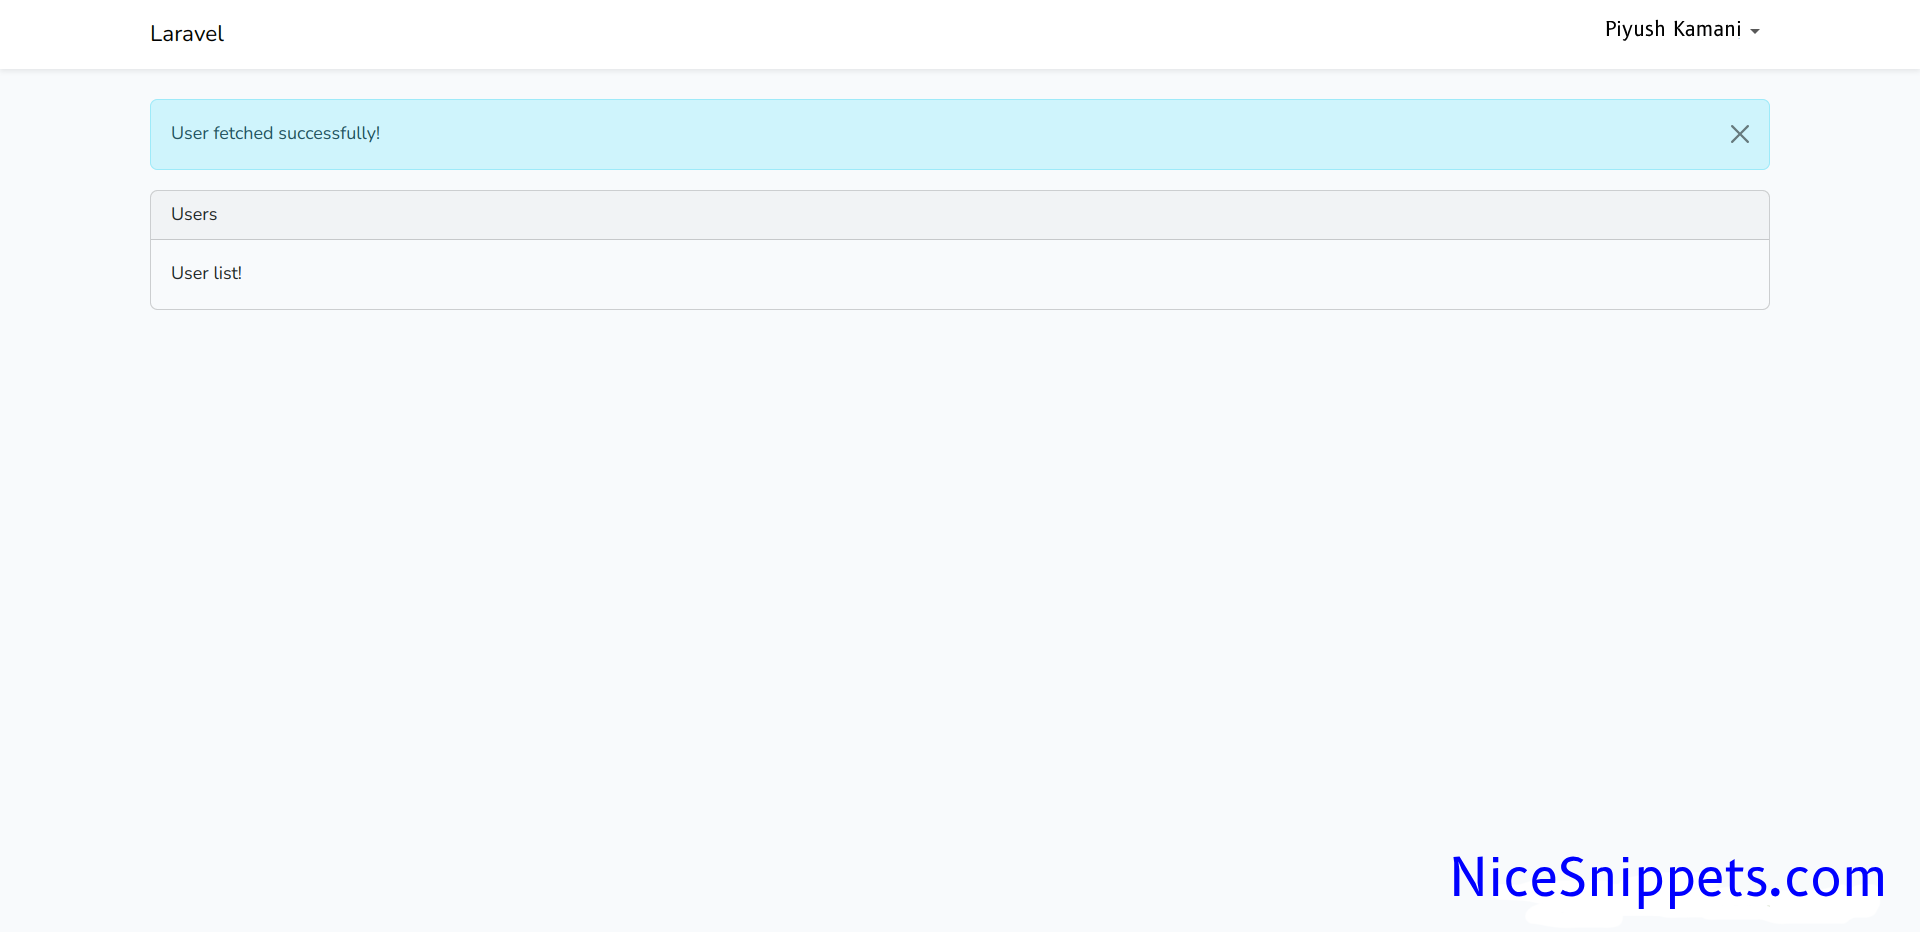
return redirect()->route('home')
->with('info', 'User fetched successfully!');
}
}
You can get layout of info flash message:
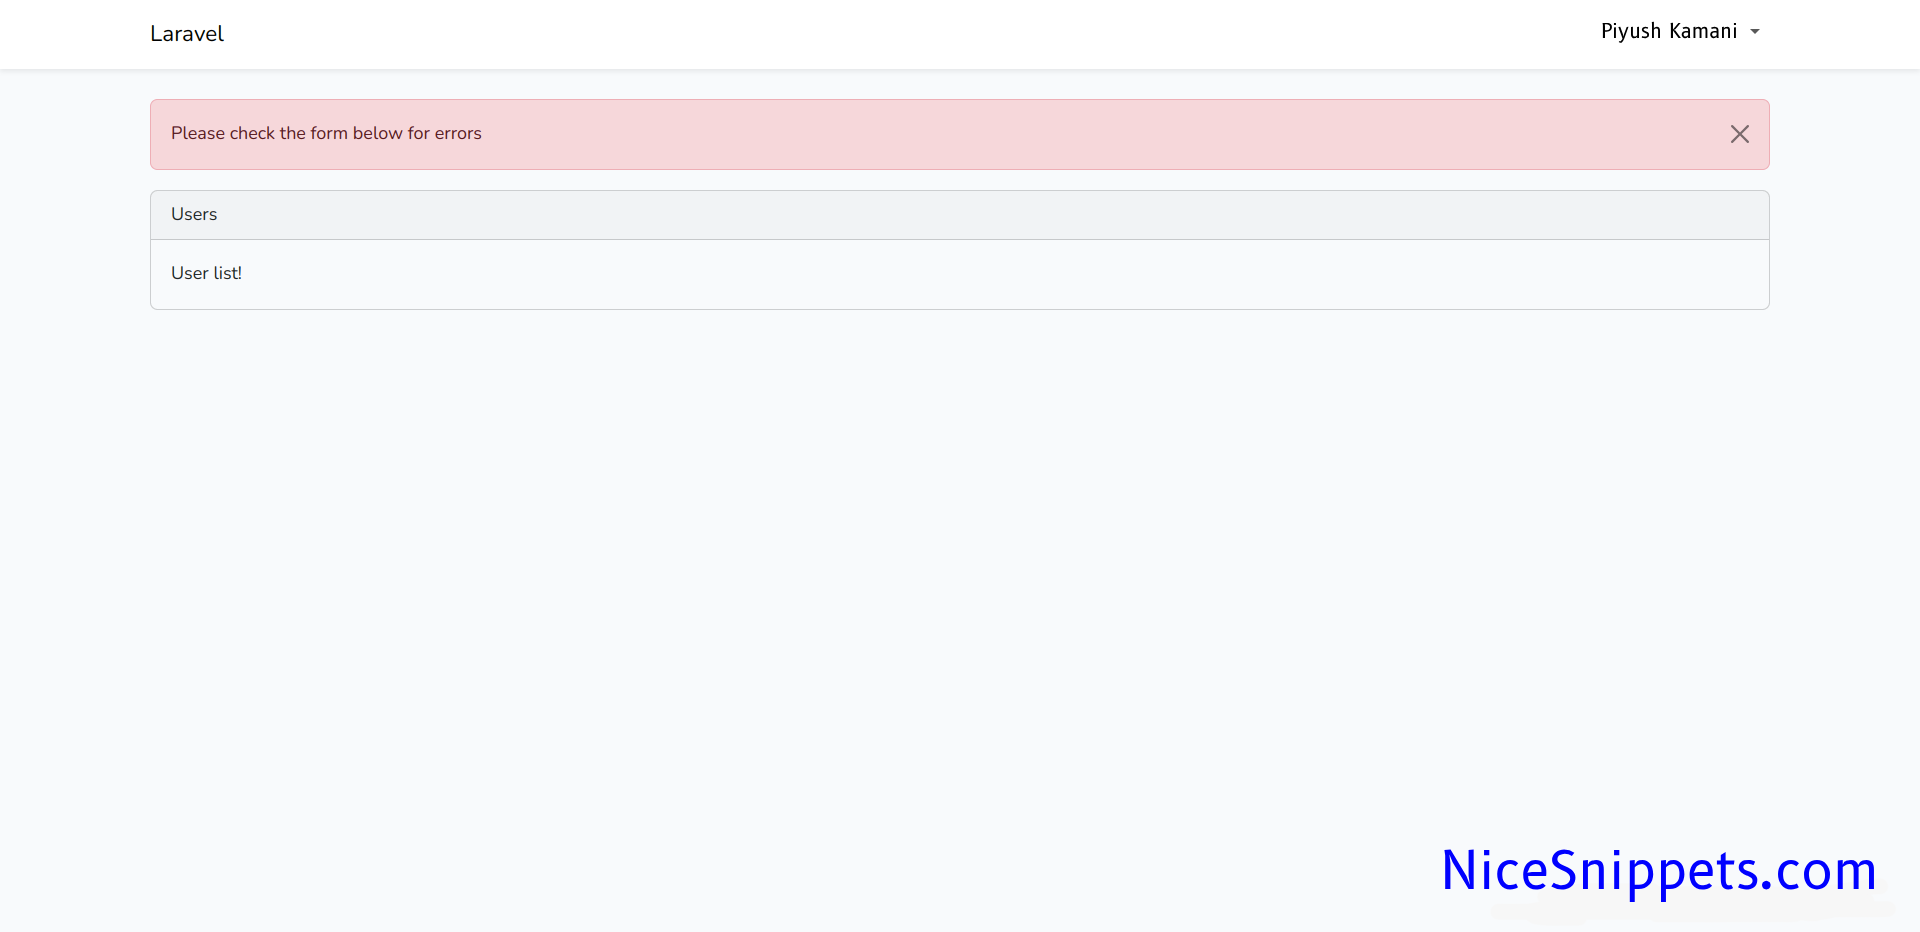
5. Validation Error
If you use laravel 5 validation then you will redirect back with errors automatically, At that time it will also generate error flash message.
<?php

namespace App\Http\Controllers;

use Illuminate\Http\Request;

class UserController extends Controller
{
    /**
     * Display a listing of the resource.
     *
     * @return \Illuminate\Http\Response
     */
    public function store()
    {
        $this->validate($request,[
            'name' => 'required',
            'email' => 'required',
            'password' => 'required'
        ]);

        ...
    }
}
You can get layout of error flash message:
This way you can simple implement flash message in your laravel 11 application.
I hope it can help you....
#Laravel 11
