10-Apr-2023
.
Admin
Hi Dev,
In this tutorial, I will explain you how to show active subscription data using stripe in laravel application. This example will help you to give example of active subscription data cashier stripe in laravel application. It's simple example of list active subscription using stripe in laravel cashier.
Here, i will show you active subscription list example. You can see active subscription list using stripe in laravel. We will use stripe subscription using cashier package laravel.
Laravel Cashier Paddle provides an expressive, fluent interface to Paddle's subscription billing services. It handles almost all of the boilerplate subscription billing code you are dreading. In addition to basic subscription management, Cashier can handle: coupons, swapping subscription, subscription "quantities", cancellation grace periods, and more.
Here, I will give you full example for laravel active subscription list example. So let's follow bellow step by step.
Step 1 : Install Laravel Fresh App
In first step, You have to need laravel project. You can install laravel fresh project using bellow composer command:
composer create-project --prefer-dist laravel/laravel blog
Step 2 : Setup Database Configuration
After successfully install laravel app thenafter configure databse setup. We will open ".env" file and change the database name, username and password in the env file.
DB_CONNECTION=mysql
DB_HOST=127.0.0.1
DB_PORT=3306
DB_DATABASE=Enter_Your_Database_Name
DB_USERNAME=Enter_Your_Database_Username
DB_PASSWORD=Enter_Your_Database_Password
Step 3 : Set Stripe API Key and SECRET
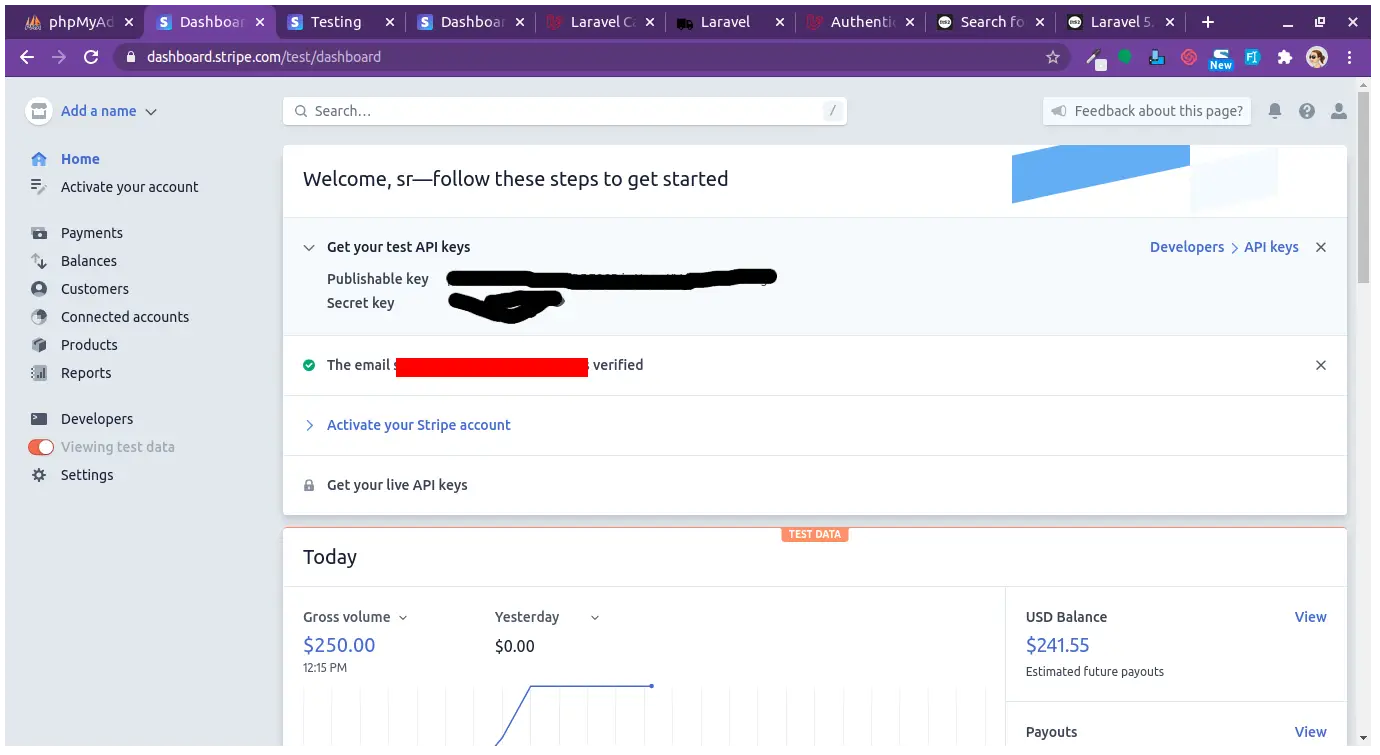
In this step, You have to need stripe account first you can create stripe account So lets open Stripe official website
Now, we need to set stripe key and secret. so first you can go on (----add link --- {Stripe}) website and create development stripe account key and secret and add bellow:
Get Stripe API Key and SECRET
.env
STRIPE_KEY=pk_test*****
STRIPE_SECRET=sk_test******
Step 4 : Add Route
In this step, We will add route in route file so lets open web.php file and add two route first route is form and second route is store stripe subscription.
routes/web.php
Route::get('/active-subscription', ['as'=>'home','uses'=>'SubscriptionController@index'])->name('subscription.index');
Step 5 : Create Controller
In this step, you have to create controller as SubscriptionController using bellow artisan command:
php artisan make:controller SubscriptionController
app/Http/SubscriptionController.php
<?php

namespace App\Http\Controllers;

use Illuminate\Http\Request;
Use App\User;
use Stripe;
use Session;
use Exception;

class SubscriptionController extends Controller
{
    public function index()
    {
        $stripe = new \Stripe\StripeClient(env("STRIPE_SECRET"));

        $user = auth()->user();

        $dataActive = $stripe->subscriptions->all(['customer' => $user->stripe_id]);

        return view('subscription.index',compact('dataActive'));
    }
}
Step 6 : Create View File
In last step, You can create view blade file first you can create subscription directory then after create index.blade.php file in subscription directory.
resources/view/subscription/index.blade.php
<html lang="en">
<head>
    <meta charset="utf-8">
    <meta http-equiv="X-UA-Compatible" content="IE=edge">
    <meta name="viewport" content="width=device-width, initial-scale=1">
    <title>Laravel</title>
    <link href="https://maxcdn.bootstrapcdn.com/bootstrap/3.3.6/css/bootstrap.min.css" rel="stylesheet">
    <script src="https://cdnjs.cloudflare.com/ajax/libs/jquery/2.1.4/jquery.min.js"></script>
    <script src="https://maxcdn.bootstrapcdn.com/bootstrap/3.3.6/js/bootstrap.min.js"></script>
</head>
<body id="app-layout">
    <div class="container">
        <div class="row">
            <div class="col-md-12 col-md-offset-0">
                <h2>Subscription Active Data</h2>
                <table class="table table-bordered">
                    <thead>
                        <tr>
                            <th>Id</th>
                            <th>Ammont</th>
                            <th>Interval</th>
                            <th>End Date</th>
                            <th>Action</th>
                        </tr>
                    </thead>
                    <tbody>
                        @if(!empty($dataActive))
                            @foreach($dataActive->data as $key => $value)
                                <tr>
                                    <td>{{ ++$key }}</td>
                                    <td>{{ $value->plan->interval }}</td>
                                    <td>${{ $value->plan->amount/100 }}</td>
                                    <td>{{ date('Y-m-d',$value->current_period_end) }}</td>
                                    <td><a class="btn btn-danger" href="">Cancel Subscription</a> </td>
                                </tr>
                            @endforeach
                        @endif
                    </tbody>
                </table>
            </div>
        </div>
    </div>
</body>
</html>
Now we are ready to run our example so run bellow command for quick run:
php artisan serve
Now you can open bellow URL on your browser:
http://localhost:8000/active-subscription
It will help you...
#Laravel 7
#Laravel
#Laravel 6
