10-Apr-2023
.
Admin
Hi Dev,
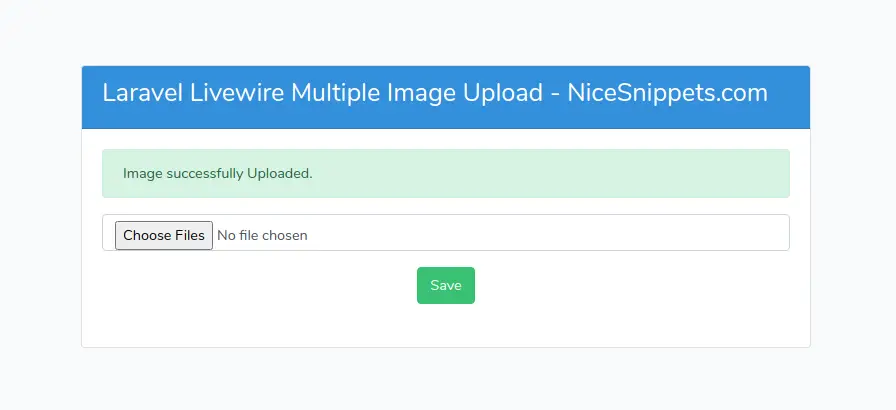
Today, I would like to share you how to upload multiple image using livewire in laravel application. We will show multiple image upload in laravel livewire.
First, add the WithFileUploads trait to your component. Now you can use wire:model on file inputs as if they were any other input type and Livewire will take care of the rest.
Livewire makes uploading and storing files extremely easy.Livewire handles multiple file uploads automatically by detecting the multiple attribute on the <input> tag.
Here, I will give you full example for livewire multiple image upload in laravel. So Let's see the bellow example and follow bellow step.
Step 1 : Install Laravel App
In First step, We need to get fresh laravel version application using bellow command. So Let's open terminal and run bellow command.
composer create-project --prefer-dist laravel/laravel blog
Step 2 : Setup Database Configuration
After successfully install laravel app thenafter configure databse setup. We will open ".env" file and change the database name, username and password in the env file.
DB_CONNECTION=mysql
DB_HOST=127.0.0.1
DB_PORT=3306
DB_DATABASE=Enter_Your_Database_Name
DB_USERNAME=Enter_Your_Database_Username
DB_PASSWORD=Enter_Your_Database_Password
Step 3 : Create image table and model
In this step, You have to create images table in your database. Run bellow command to create migration and modal So lets open terminal and run bellow command:
php artisan make:modal Image -m
After run above command, you will see a migration file in following path database/migrations and you have to simply put following code in migration file to create images table.
<?php

use Illuminate\Database\Migrations\Migration;
use Illuminate\Database\Schema\Blueprint;
use Illuminate\Support\Facades\Schema;

class CreateImagesTable extends Migration
{
 /**
     * Run the migrations.
     *
     * @return void
     */
    public function up()
    {
        Schema::create('images', function (Blueprint $table) {
            $table->id();
            $table->string('image');
            $table->timestamps();
        });
    }

    /**
     * Reverse the migrations.
     *
     * @return void
     */
    public function down()
    {
        Schema::dropIfExists('images');
    }
}
Run migration file and run following command:
php artisan migrate
After create 'images' table thenafter changes in Image modal copy bellow code and put in the Image.php file.
app/Image.php
<?php

namespace App;

use Illuminate\Database\Eloquent\Model;

class Image extends Model
{
    protected $fillable = ['image'];
}
Step 4 : Install Livewire
In this step, You will simply install livewire to our laravel application using bellow command:
composer require livewire/livewire
Step 5 : Create Component
Now, You can create livewire component using bellow command, So Let's run bellow command to create Image form component:
php artisan make:livewire image-upload
Now they created fies on both path:
app/Http/Livewire/ImageUpload.php
resources/views/livewire/image-upload.blade.php
Now first file we will update as bellow for ImageUpload.php file.
app/Http/Livewire/ImageUpload.php
<?php

namespace App\Http\Livewire;

use Livewire\Component;
use Livewire\WithFileUploads;
use App\Image;

class ImageUpload extends Component
{
    use WithFileUploads;

    public $images = [];

    public function render()
    {
        return view('livewire.image-upload');
    }

    public function store()
    {
        $this->validate([
            'images.*' => 'image|max:1024', // 1MB Max
        ]);

        foreach ($this->images as $key => $image) {
            $this->images[$key] = $image->store('images','public');
        }

        $this->images = json_encode($this->images);

        Image::create(['image' => $this->images]);

        session()->flash('message', 'Image successfully Uploaded.');

        return redirect()->to('/mutliplt-image-upload');
    }
}
Step 6 : Add Route
now, we need to add route for image form in laravel application. so open your "routes/web.php" file and add following route.
routes/web.php
Route::view('multiple-image-upload','livewire.home');
Step 7 : Create View
Here, we will create blade file for call crud opertaion route. in this file we will use @livewireStyles, @livewireScripts and @livewire('image-upload'). so let's add it.
resources/views/livewire/image-upload.blade.php
<div>
    <form>
        <div class=" add-input">
            <div class="row">
                <div class="col-md-12">
                    <div class="form-group">
                        <input type="file" class="form-control" wire:model="images" multiple>
                        @error('image.*') <span class="text-danger error">{{ $message }}</span>@enderror
                    </div>
                </div>
                <div class="col-md-12 text-center">
                    <button class="btn text-white btn-success" wire:click.prevent="store">Save</button>
                </div>
            </div>
        </div>
    </form>
</div>
resources/views/livewire/home.blade.php
<!DOCTYPE html>
<html>
<head>
    <title></title>
    <script src="{{ asset('js/app.js') }}" defer></script>
    <link href="{{ asset('css/app.css') }}" rel="stylesheet">
    <script src="//ajax.googleapis.com/ajax/libs/jquery/1.12.4/jquery.min.js"></script>
    @livewireStyles
</head>
<body>
    <div class="container">
        <div class="row mt-5 justify-content-center">
            <div class="mt-5 col-md-8">
                <div class="card">
                    <div class="card-header bg-primary text-white"><h3>Laravel Livewire Multiple Image Upload - NiceSnippets.com</h3></div>

                    <div class="card-body">
                        @if (session()->has('message'))
                            <div class="alert alert-success">
                                {{ session('message') }}
                            </div>
                        @endif

                        @livewire('image-upload')
                    </div>
                </div>
            </div>
        </div>
    </div>

    @livewireScripts
</script>
</body>
</html>
Now we are ready to run our example so run bellow command for quick run:
php artisan serve
Now you can open bellow URL on your browser:
http://localhost:8000/multiple-image-upload
It will help you...
#Laravel 7
#Laravel
#Laravel 6