10-Apr-2023
.
Admin
Hello Friends,
In this example, I will show you laravel blade component example. it's simple example of how to create blade component in laravel. This post will give you simple example of laravel create blade component. This post will give you simple example of laravel create blade component and use it. Let's see bellow example blade components in laravel.
In this post, we will create "x-post" using component artisan command. we will pass post object as argument. "x-post" component will display title and body of posts table. then we will use "x-post" component in for each loop. you can see following step to done this example.
so let's start with following staps
Step 1: Download Laravel
Let us begin the tutorial by installing a new laravel application. if you have already created the project, then skip following step.
composer create-project laravel/laravel example-app
Step 2: Create Migration and Model
Here, we need create database migration for Posts table and also we will create model for files table.
php artisan make:migration create_posts_table
Migration:
<?php

use Illuminate\Database\Migrations\Migration;
use Illuminate\Database\Schema\Blueprint;
use Illuminate\Support\Facades\Schema;

return new class extends Migration
{
    /**
     * Run the migrations.
     *
     * @return void
     */
    public function up()
    {
        Schema::create('posts', function (Blueprint $table) {
            $table->id();
            $table->string('title');
            $table->text('body');
            $table->timestamps();
        });
    }

    /**
     * Reverse the migrations.
     *
     * @return void
     */
    public function down()
    {
        Schema::dropIfExists('posts');
    }
}
php artisan migrate
now we will create Post.php model by using following command:
php artisan make:model Post
App/Models/Post.php
<?php

namespace App\Models;

use Illuminate\Database\Eloquent\Factories\HasFactory;
use Illuminate\Database\Eloquent\Model;

class Post extends Model
{
    use HasFactory;

    /**
     * The attributes that are mass assignable.
     *
     * @var array
     */
    protected $fillable = [
        'title', 'body'
    ];
}
Step 3: Create Route
In this step, we will create routes for view posts. so create get routes here.
routes/web.php
<?php

use Illuminate\Support\Facades\Route;
use App\Http\Controllers\PostController;

/*
|--------------------------------------------------------------------------
| Web Routes
|--------------------------------------------------------------------------
|
| Here is where you can register web routes for your application. These
| routes are loaded by the RouteServiceProvider within a group which
| contains the "web" middleware group. Now create something great!
|
*/

Route::get('posts', [PostController::class, 'index']);
Step 4: Create Controller
In this step, we will create PostController file and add following code on it.
app/Http/Controllers/PostController.php
<?php

namespace App\Http\Controllers;

use Illuminate\Http\Request;
use App\Models\Post;

class PostController extends Controller
{
    /**
     * Write code on Method
     *
     * @return response()
     */
    public function index()
    {
        $posts = Post::latest()->take(5)->get();

        return view('posts', compact('posts'));
    }
}
Step 5: Create Blade Component
To create component you can use the artisan command like so:
php artisan make:component Post
Once running this command you will see two files created, which are app/View/Components/Post.php and resources/views/components/post.blade.php
app/View/Components/Post.php
<?php

namespace App\View\Components;

use Illuminate\View\Component;

class Post extends Component
{
    public $post;

    /**
     * Create a new component instance.
     *
     * @return void
     */
    public function __construct($post)
    {
        $this->post = $post;
    }

    /**
     * Write code on Method
     *
     * @return response()
     */
    public function format($content)
    {
        return substr($content, 0, 50) . "...";
    }

    /**
     * Get the view / contents that represent the component.
     *
     * @return \Illuminate\Contracts\View\View|\Closure|string
     */
    public function render()
    {
        return view('components.post');
    }
}
resources/views/components/post.blade.php
<tr>
    <td>{{ $post->id }}</td>
    <td>{{ $post->title }}</td>
    <td>{{ $format($post->body) }}</td>
    <td>
        <a class="btn btn-info">Show</a>
    </td>
</tr>
Step 6: Create Blade File
Here, in this step we will create view file.
so, let's create it and add bellow code on it.
resources/views/posts.blade.php
<!DOCTYPE html>
<html>
<head>
    <title>Laravel Blade Component Example - NiceSnippets.com</title>
    <link href="https://cdnjs.cloudflare.com/ajax/libs/twitter-bootstrap/5.0.1/css/bootstrap.min.css" rel="stylesheet">
    <script src="https://cdnjs.cloudflare.com/ajax/libs/jquery/3.6.0/jquery.min.js"></script>
    <script src="https://cdn.jsdelivr.net/npm/bootstrap@5.0.2/dist/js/bootstrap.bundle.min.js"></script>
</head>
<body>

<div class="container">
    <h1>Laravel Blade Component Example - NiceSnippets.com</h1>

    <table class="table table-bordered data-table">
        <thead>
            <tr>
                <th>ID</th>
                <th>Title</th>
                <th>Body</th>
                <th>Action</th>
            </tr>
        </thead>
        <tbody>
            @foreach($posts as $post)
                <x-post :post="$post" />
            @endforeach
        </tbody>
    </table>

</div>

</html>
Run Laravel App:
All the required steps have been done, now you have to type the given below command and hit enter to run the Laravel app:
php artisan serve
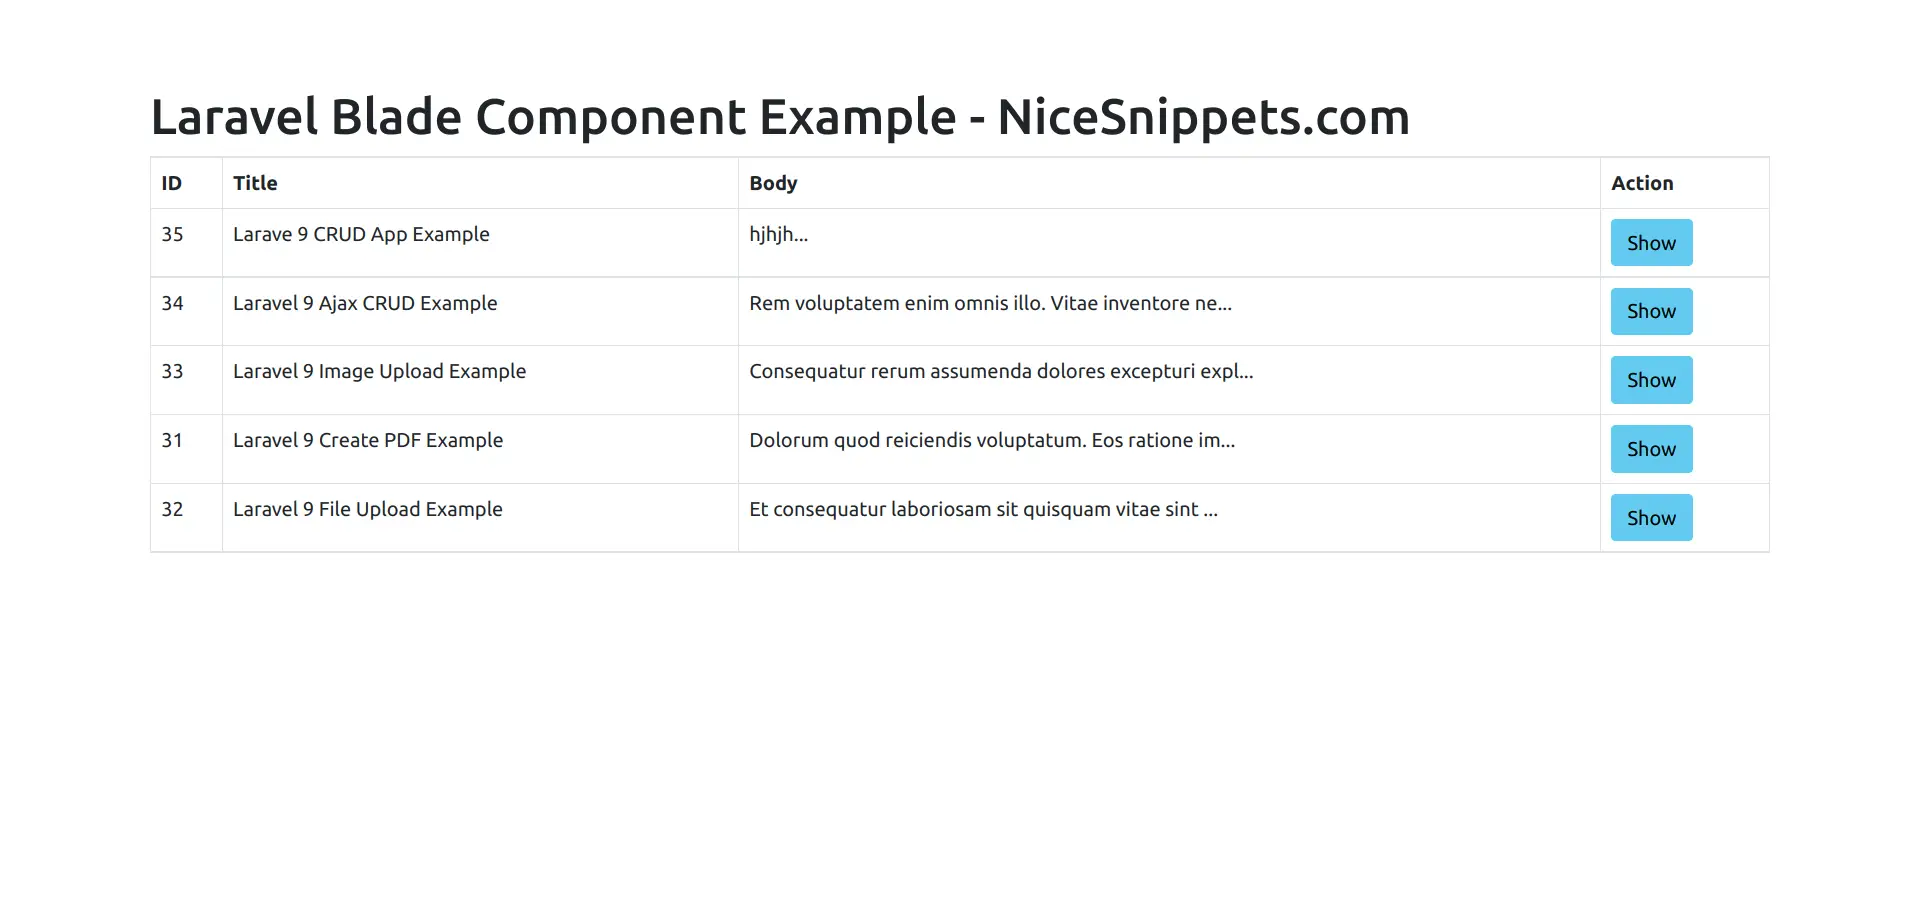
Now, Go to your web browser, type the given URL and view the app output:
http://localhost:8000/posts
now it works...
I hope it can help you...
#Laravel 9
