10-Apr-2023
.
Admin

Hi friends,
Here, I will show you how to works laravel 9 multiple image upload with tailwind css. I explained simply about how to multiple uploading images with tailwind css in laravel 9. you can understand a concept of laravel 9 multiple image upload with tailwind css example. you can see laravel 9 multiple image upload with tailwind css images. So, let's follow few step to create example of laravel 9 multiple images upload with tailwind css.
And as well as, how to validate image mime type, size, dimension, etc on laravel controller by using laravel validation rules.
This Image upload in the tutorial will create an multiple images upload with tailwind css in laravel 9, which is used to store images in the database and storage directory.
This tutorial will work with Laravel versions 5, 6, 7, and 8. When syntax is different across versions, the different syntax will be demonstrated.
Let's start following example:
Step 1: Download Laravel
Let us begin the tutorial by installing a new laravel application. if you have already created the project, then skip following step.
composer create-project laravel/laravel example-app
Step 2 : Setup Databases
Now, update your in env file.
.env
DB_CONNECTION=mysql
DB_HOST=127.0.0.1
DB_PORT=3306
DB_DATABASE=database_name
DB_USERNAME=database_user_name
DB_PASSWORD=database_password
Step 3 : Create Model ,Migration ,Controller
Now in this step run shorthand command to create image modal, migration and controller.
php artisan make:model Image -mc
database/migrations/create_images_table.php
<?php

use Illuminate\Database\Migrations\Migration;
use Illuminate\Database\Schema\Blueprint;
use Illuminate\Support\Facades\Schema;

return new class extends Migration
{
    /**
     * Run the migrations.
     *
     * @return void
     */
    public function up()
    {
        Schema::create('image', function (Blueprint $table) {
            $table->id();
            $table->string('image');
            $table->timestamps();
        });
    }

    /**
     * Reverse the migrations.
     *
     * @return void
     */
    public function down()
    {
        Schema::table('images', function (Blueprint $table) {
            //
        });
    }
};
Step 4 : Add Model
Ok, so after run the command you will find "app/Models/Image.php" and put bellow content in Image.php file:
app/Models/Image.php
<?php

namespace App\Models;

use Illuminate\Database\Eloquent\Factories\HasFactory;
use Illuminate\Database\Eloquent\Model;

class Image extends Model
{
    use HasFactory;

    protected $fillable = [
        'image'
    ];
}
Step 5 : Add Controller
In this step, we will create a new MultipleUploadImageController; in this file, we will add two method index() and store() for render view and store image logic.
Let's create MultipleUploadImageController by following command:
app/Http/Controllers/MultipleUploadImageController.php
<?php

namespace App\Http\Controllers;

use Illuminate\Http\Request;
use App\Models\Image;

class MultipleUploadImageController extends Controller
{
    /**
     * Write code on Method
     *
     * @return response()
    */
    public function index()
    {
        return view('image');
    }

    /**
     * Write code on Method
     *
     * @return response()
    */
    public function store(Request $request)
    {
        $this->validate($request, [
            'image' => 'required|image|mimes:jpg,png,jpeg,gif,svg|max:2048',
        ]);

        $image_path = $request->file('image')->store('image', 'public');

        $data = Image::create([
            'image' => $image_path,
        ]);

        session()->flash('success', 'Image Upload successfully');

        return redirect()->route('image.index');
    }
}
Step 6 : Add Routes
routes/web.php
<?php

use Illuminate\Support\Facades\Route;
use App\Http\Controllers\MultipleUploadImageController;

/*
|--------------------------------------------------------------------------
| Web Routes
|--------------------------------------------------------------------------
|
| Here is where you can register web routes for your application. These
| routes are loaded by the RouteServiceProvider within a group which
| contains the "web" middleware group. Now create something great!
|
*/

Route::controller(MultipleUploadImageController::class)->group(function(){
    Route::get('multiple-image-upload', 'index');
    Route::post('multiple-image-upload', 'store')->name('image.store');
});
Step 7: Add Blade File
resources/views/multipleUploadImage.blade.php
<!DOCTYPE html>
<html>
<head>
    <title>Laravel 9 Multiple Image Upload with Tailwind CSS - Nicesnippets.com</title>
    <link href="https://cdn.jsdelivr.net/npm/bootstrap@5.0.2/dist/css/bootstrap.min.css" rel="stylesheet">
    <script src="https://cdn.tailwindcss.com"></script>
</head>
<body>
    <div class="flex mt-20 justify-center">
        <div class="ring-1 ring-slate-700/10 rounded-md p-5 shadow-black/5">

            <div class="w-100 bg-white">
                <h1 class="text-2xl flex-auto font-semibold text-slate-900">
                    Laravel 9 Multiple Image Upload with Tailwind CSS - Nicesnippets.com
                </h1>
            </div>

            @if ($message = Session::get('success'))

                <div class="mt-3 flex p-3 mb-2 text-sm text-green-700 bg-green-100 rounded-lg dark:bg-green-200 dark:text-green-800" role="alert">
                    <svg aria-hidden="true" class="inline flex-shrink-0 mr-3 w-5 h-5" fill="currentColor" viewBox="0 0 20 20" xmlns="http://www.w3.org/2000/svg"><path fill-rule="evenodd" d="M18 10a8 8 0 11-16 0 8 8 0 0116 0zm-7-4a1 1 0 11-2 0 1 1 0 012 0zM9 9a1 1 0 000 2v3a1 1 0 001 1h1a1 1 0 100-2v-3a1 1 0 00-1-1H9z" clip-rule="evenodd"></path></svg>
                    <span class="sr-only">Info</span>
                    <div>
                        <span class="font-medium">Success alert! </span>{{ $message }}
                    </div>
                </div>

                <div class="flex space-x-4 items-start ...">
                    @foreach(Session::get('images') as $images)
                        <div class="py-2">
                            <img src="image/{{ $images['image'] }}" width="100px">
                        </div>
                    @endforeach
                </div>

            @endif

            <form action="{{ route('image.store') }}" method="POST" enctype="multipart/form-data" class="mt-5">
                @csrf

                <span class="sr-only">Choose File</span>

                <input type="file" name="image[]" id="inputImage" multiple class="@error('image') is-invalid @enderror block w-full text-sm text-gray-500 file:mr-4 file:py-2 file:px-4 file:rounded-full file:border-0 file:text-sm file:font-semibold file:bg-blue-50 file:text-blue-700 hover:file:bg-blue-100" />

                @error('image')
                    <span class="text-danger">{{ $message }}</span>
                @enderror
                <hr class="my-4">

                <button type="submit" class="px-4 py-2 bg-blue-500 hover:bg-blue-700 text-white font-bold py-2 px-4 rounded-full">Upload</button>

            </form>
        </div>
    </div>
</body>
</html>
Step 8: Migrate database & Storage links
php artisan migrate
Storage links to public directory.
php artisan storage:link
Run Laravel App:
All steps have been done, now you have to type the given command and hit enter to run the laravel app:
php artisan serve
Now, you have to open web browser, type the given URL and view the app output:
http://localhost:8000/multiple-image-upload
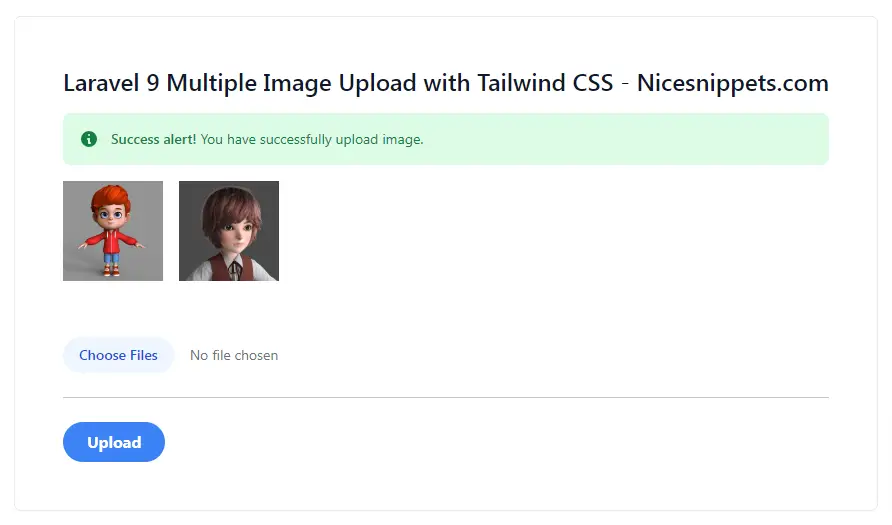
Output:
I hope it can help you...
#Laravel 9
