10-Apr-2023
.
Admin

Hello Friends,
Now let's see an example of how to integrate instamojo payment gateway in laravel 9 application. This tutorial will give you laravel 9 instamojo payment gateway integration example. you will learn laravel 9 instamojo payment gateway tutorial.s
Here I will give you a full example of laravel 9 instamojo payment gateway integration tutorial So let's follow the below step by step.
Step 1: Download Laravel
Let us begin the tutorial by installing a new laravel application. if you have already created the project, then skip following step.
composer create-project laravel/laravel example-app
Step 2: Database Configuration
In the second step, we will make database Configuration for the example database name, username, password, etc. So let's open .env file and fill in all details like as below:
.env
DB_CONNECTION=mysql
DB_HOST=127.0.0.1
DB_PORT=3306
DB_DATABASE=here your database name(blog)
DB_USERNAME=here database username(root)
DB_PASSWORD=here database password(root)
Step 3: Create Account on Instamojo
Now you should create one account for test integration so open this link and create your account Instamojo Test Account. For some simple details, you must fill open a test account and also a live account.
Live Entry Point Url :
https://www.instamojo.com/api/1.1/payment-requests/
Step 4 : Add Migration
Here we need migration to store payment data So let's create a payment table and model using bellow artisan command:
php artisan make:model Payment -m
Now you can create migration after add bellow fields:
database/migrations/2020_10_02_050717_create_payments_table.php
<?php

use Illuminate\Database\Migrations\Migration;
use Illuminate\Database\Schema\Blueprint;
use Illuminate\Support\Facades\Schema;

class CreatePaymentsTable extends Migration
{
    /**
     * Run the migrations.
     *
     * @return void
     */
    public function up()
    {
        Schema::create('payments', function (Blueprint $table) {
            $table->id();
            $table->string('payment_id'); // instamojo payment id
            $table->string('name');
            $table->string('email');
            $table->string('mobile');
            $table->string('amount');
            $table->timestamps();
        });
    }

    /**
     * Reverse the migrations.
     *
     * @return void
     */
    public function down()
    {
        Schema::dropIfExists('payments');
    }
}
Now add fields in fillable on the model.
app/Models/Payment.php
<?php

namespace App\Models;

use Illuminate\Database\Eloquent\Factories\HasFactory;
use Illuminate\Database\Eloquent\Model;

class Payment extends Model
{
    use HasFactory;

    /**
     * The attributes that are mass assignable.
     *
     * @var array
     */
    protected $fillable = [
        'payment_id', 'name', 'email', 'mobile', 'amount'
    ];
}
Step 5: Add Routes
Here, we need to route for create a payment. so open your "routes/web.php" file and add the following route.
routes/web.php
<?php

use App\Http\Controllers\PaymentController;

/*
|--------------------------------------------------------------------------
| Web Routes
|--------------------------------------------------------------------------
|
| Here is where you can register web routes for your application. These
| routes are loaded by the RouteServiceProvider within a group which
| contains the "web" middleware group. Now create something great!
|
*/

Route::get('payment', [PaymentController::class, 'index'])->name('payment');
Route::post('payment-process', [PaymentController::class, 'paymentProcess']);
Route::get('payment-success', [PaymentController::class, 'paymentSuccess']);
Step 6: Add Controller
In this you can create PaymentController using bellow artisan command so let's open terminal run bellow command:
php artisan make:controller PaymentController
Now we will add three method in PaymentController as below:
1)index
2)paymentProcess
3)paymentSuccess
app/Http/Controllers/PaymentController.php
<?php

namespace App\Http\Controllers;

use Illuminate\Http\Request;
use App\Models\Payment;

class PaymentController extends Controller
{
    /**
     * Write code on Method
     *
     * @return response()
     */
    public function index()
    {
        return view('instamojo');
    }

    /**
     * Write code on Method
     *
     * @return response()
     */
    public function paymentProcess(Request $request){

        $ch = curl_init();

        curl_setopt($ch, CURLOPT_URL, 'https://test.instamojo.com/api/1.1/payment-requests/');
        curl_setopt($ch, CURLOPT_HEADER, FALSE);
        curl_setopt($ch, CURLOPT_RETURNTRANSFER, TRUE);
        curl_setopt($ch, CURLOPT_FOLLOWLOCATION, TRUE);
        curl_setopt($ch, CURLOPT_HTTPHEADER,
                    array("X-Api-Key:api_key",
                          "X-Auth-Token:api_auth_token"));
        $payload = Array(
            'purpose' => 'NiceSnippets',
            'amount' => $request->amount,
            'phone' => $request->mobile_number,
            'buyer_name' => $request->name,
            'redirect_url' => 'http://localhost:8000/payment-success',
            'send_email' => true,
            'webhook' => 'http://www.example.com/webhook/',
            'send_sms' => true,
            'email' => $request->email,
            'allow_repeated_payments' => false
        );
        curl_setopt($ch, CURLOPT_POST, true);
        curl_setopt($ch, CURLOPT_POSTFIELDS, http_build_query($payload));
        $response = curl_exec($ch);
        curl_close($ch);
        $response = json_decode($response);
        return redirect($response->payment_request->longurl);
    }

    /**
     * Write code on Method
     *
     * @return response()
     */
    public function paymentSuccess(Request $request){

        $input = $request->all();

        $ch = curl_init();

        curl_setopt($ch, CURLOPT_URL, 'https://test.instamojo.com/api/1.1/payments/'.$request->get('payment_id'));
        curl_setopt($ch, CURLOPT_HEADER, FALSE);
        curl_setopt($ch, CURLOPT_RETURNTRANSFER, TRUE);
        curl_setopt($ch, CURLOPT_FOLLOWLOCATION, TRUE);
        curl_setopt($ch, CURLOPT_HTTPHEADER,
            array("X-Api-Key:api_key",
                          "X-Auth-Token:api_auth_token"));

        $response = curl_exec($ch);
        $err = curl_error($ch);
        curl_close($ch);

        if ($err) {
            \Session::put('error','Payment Failed, Try Again!!');
            return redirect()->route('payment');
        } else {
            $data = json_decode($response);
        }

        if($data->success == true) {
            if($data->payment->status == 'Credit') {

                // Here Your Database Insert Login
                $input['name'] = $data->payment->buyer_name;
                $input['email'] = $data->payment->buyer_email;
                $input['mobile'] = $data->payment->buyer_phone;
                $input['amount'] = $data->payment->amount;
                Payment::create($input);

                \Session::put('success','Your payment has been pay successfully, Enjoy!!');
                return redirect()->route('payment');

            } else {
                \Session::put('error','Payment Failed, Try Again!!');
                return redirect()->route('payment');
            }
        }
    }
}
Step 7: Add Blade File
In the last step, We will create instamojo.blade.php file in the “resources/views/” folder directory and paste below code:
resources/view/instamojo.blade.php
<!DOCTYPE html>
<html>
<head>
    <title>Laravel 9 Instamojo Payment Gateway Integration - NiceSnippets.com</title>
    <meta name="csrf-token" content="{{ csrf_token() }}">
    <link rel="stylesheet" href="https://stackpath.bootstrapcdn.com/bootstrap/4.5.2/css/bootstrap.min.css">
</head>
<body>
    <div class="container mt-4">
        <div class="row">
            <div class="col-md-8 offset-2">
                <div class="card">
                    <div class="card-header bg-info text-white">
                        <h3 class="text-center">Laravel 9 Instamojo Payment Gateway Integration - NiceSnippets.com</h3>
                    </div>
                    <div class="card-body">
                        <form action="{{ url('payment-process') }}" method="POST" name="laravel_instamojo">
                            {{ csrf_field() }}
                            <div class="row">
                                <div class="col-md-12">
                                    <div class="form-group">
                                        <strong>Name</strong>
                                        <input type="text" name="name" class="form-control" placeholder="Enter Name" required>
                                    </div>
                                </div>
                                <div class="col-md-12">
                                    <div class="form-group">
                                        <strong>Mobile Number</strong>
                                        <input type="text" name="mobile_number" class="form-control" placeholder="Enter Mobile Number" required>
                                    </div>
                                </div>
                                <div class="col-md-12">
                                    <div class="form-group">
                                        <strong>Email Id</strong>
                                        <input type="text" name="email" class="form-control" placeholder="Enter Email id" required>
                                    </div>
                                </div>
                                <div class="col-md-12">
                                    <div class="form-group">
                                        <strong>Event Fees</strong>
                                         <input type="text" name="amount" class="form-control" placeholder="" value="200" readonly="">
                                    </div>
                                </div>
                                <div class="col-md-12">
                                    <button type="submit" class="btn btn-primary">Submit</button>
                                </div>
                            </div>
                        </form>
                    </div>
                </div>
            </div>
        </div>
    </div>
</body>
</html>
Run Laravel App:
All steps have been done, now you have to type the given command and hit enter to run the laravel app:
php artisan serve
Now, you have to open web browser, type the given URL and view the app output:
http://localhost:8000/payment
Output :

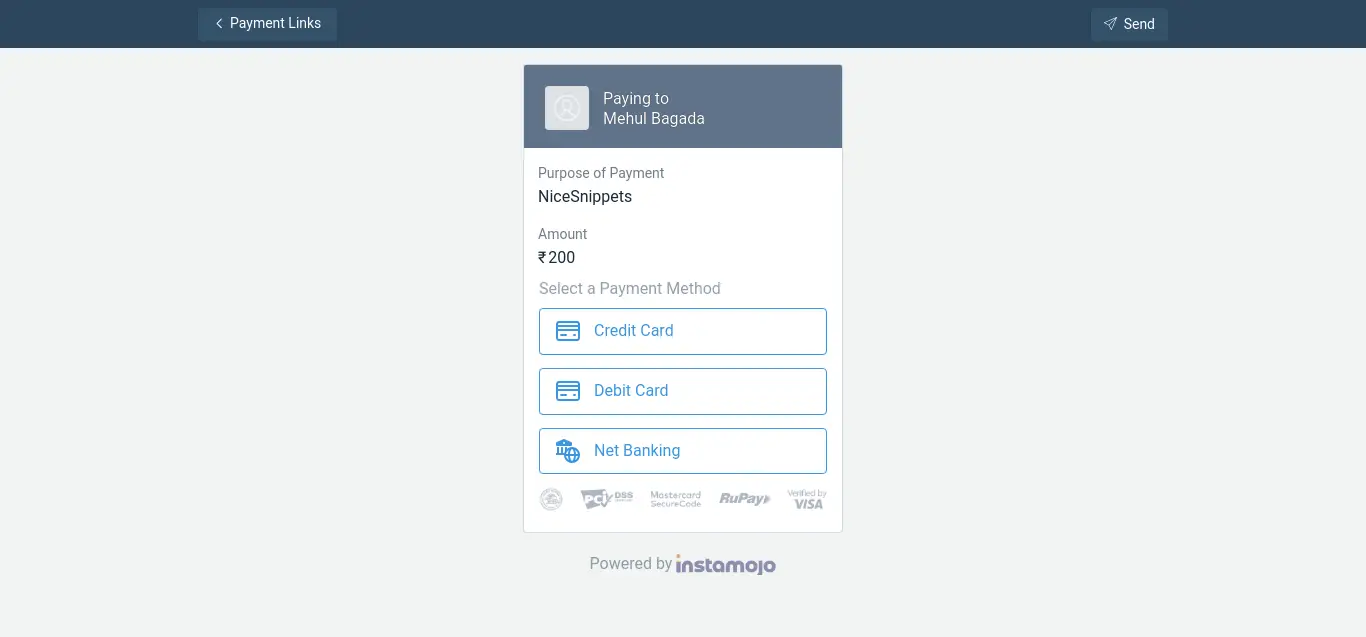
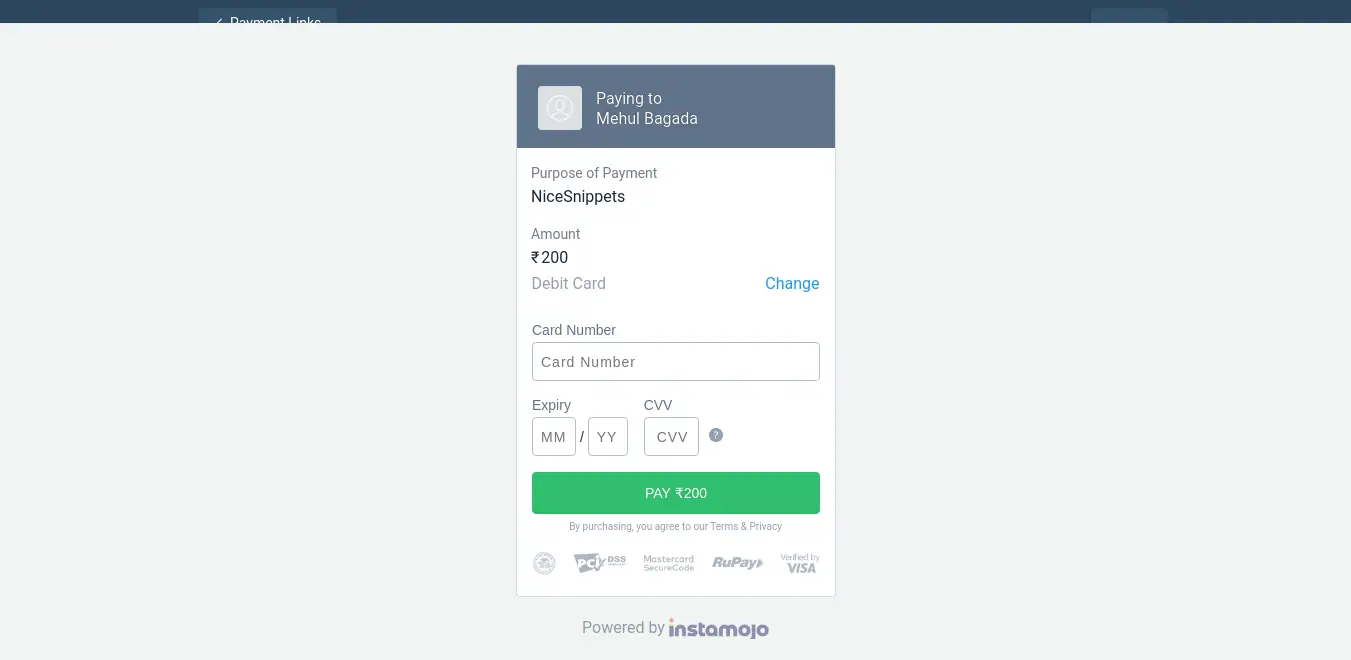
It will help you...
#Laravel 9
