10-Mar-2023
.
Admin
Hello Friends,
In this tutorial, I will show you how to check user online status and last seen in laravel application. we can easily check the user is online or not. I will learn about how to detect a user is online or offline and store last seen data.
User online or offline and last seen store in laravel application. It is easy and simply to get last seen and online or offline display list of the user.
Here i will give you full example for check user online status and store last seen in laravel app. So let's follow the bellow step by step.
Step 1 : Install Laravel App
In this step, You can install laravel fresh app. So open terminal and put the bellow command.
composer create-project --prefer-dist laravel/laravel blog
Step 2 : Setup Database Configuration
After successfully install laravel app thenafter configure databse setup. We will open ".env" file and change the database name, username and password in the env file.
DB_CONNECTION=mysql
DB_HOST=127.0.0.1
DB_PORT=3306
DB_DATABASE=Enter_Your_Database_Name
DB_USERNAME=Enter_Your_Database_Username
DB_PASSWORD=Enter_Your_Database_Password
Step 3 : Generate Auth
In this step You can install auth in laravel. Open this link to install auth example.
Step 4 : Add Column in User Table
In this step You can add column in user table So Let's Open terminal and run the bellow command:
php artisan make:migration add_last_seen_to_users_table --table=users
Run successfully above command after add column into the user table.open migration file and put bellow code.
<?php

use Illuminate\Database\Migrations\Migration;
use Illuminate\Database\Schema\Blueprint;
use Illuminate\Support\Facades\Schema;

class AddLastSeenToUsersTable extends Migration
{
    /**
     * Run the migrations.
     *
     * @return void
     */
    public function up()
    {
        Schema::table('users', function (Blueprint $table) {
            $table->timestamp('last_seen')->nullable();
        });
    }

    /**
     * Reverse the migrations.
     *
     * @return void
     */
    public function down()
    {
        Schema::table('users', function (Blueprint $table) {
            $table->timestamp('last_seen');
        });
    }
}
Put above code after run bellow command.
php artian migrate
Step 5 : Create Middleware
In this step You can create custom middleware as LastSeenUserActivity using bellow command.
php artisan make:middleware LastSeenUserActivity
Now open the middleware LastUserActivity.php file and paste bellow code in middleware file:
app/http/middleware/LastSeenUserActivity.php
<?php

namespace App\Http\Middleware;

use Closure;
use App\User;
use Auth;
use Cache;
use Carbon\Carbon;

class LastSeenUserActivity
{
    /**
     * Handle an incoming request.
     *
     * @param  \Illuminate\Http\Request  $request
     * @param  \Closure  $next
     * @return mixed
     */
    public function handle($request, Closure $next)
    {
        if (Auth::check()) {
            $expireTime = Carbon::now()->addMinute(1); // keep online for 1 min
            Cache::put('is_online'.Auth::user()->id, true, $expireTime);

            //Last Seen
            User::where('id', Auth::user()->id)->update(['last_seen' => Carbon::now()]);
        }
        return $next($request);
    }
}
Step 5 : Add Middleware in Kernel File
In this step We have to add middleware to kernel file.Open kernel.php file and add middleware.
app/http/kernel.php
protected $middlewareGroups = [
    'web' => [
        \App\Http\Middleware\EncryptCookies::class,
        \Illuminate\Cookie\Middleware\AddQueuedCookiesToResponse::class,
        \Illuminate\Session\Middleware\StartSession::class,
        // \Illuminate\Session\Middleware\AuthenticateSession::class,
        \Illuminate\View\Middleware\ShareErrorsFromSession::class,
        \App\Http\Middleware\VerifyCsrfToken::class,
        \Illuminate\Routing\Middleware\SubstituteBindings::class,
        \App\Http\Middleware\LastSeenUserActivity::class,
    ],

    'api' => [
        'throttle:60,1',
        \Illuminate\Routing\Middleware\SubstituteBindings::class,
    ],
];
Step 6 : Add Route
In this step We have to add new route in route file Open web.php file add new route.
routes/web.php
Route::get('/status', 'UserController@show')
Step 7 : Create Controller
In this step, we should create new controller as UserController. So put bellow code.
app/http/controller/UserController.php
<?php

namespace App\Http\Controllers;

use Illuminate\Http\Request;
use App\User;
use Cache;
use Carbon\Carbon;

class UserController extends Controller
{
    public function show()
    {
        $users = User::all();
        return view('status', compact('users'));
    }
}
Step 8 : Create View File
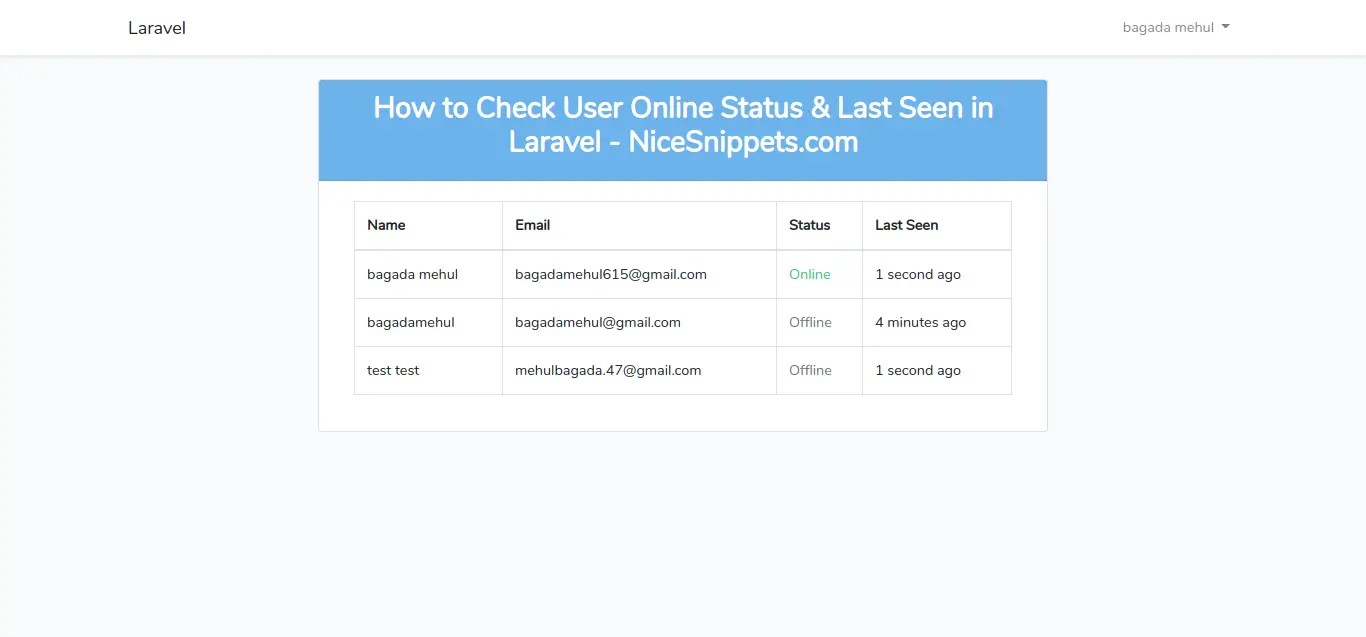
In this step, we should create blade file as status.blade.php and paste the bellow code into blade file.
app/http/controller/UserController.php
@extends('layouts.app')

@section('content')
    <div class="container">
        <div class="row justify-content-center">
            <div class="col-md-8">
                <div class="card">
                    <div class="card-header bg-info text-white text-center"><h2><b>How to Check User Online Status & Last Seen in Laravel - NiceSnippets.com</b></h2></div>
                    <div class="card-body">
                        @php $users = DB::table('users')->get(); @endphp
                        <div class="container">
                            <table class="table table-bordered">
                                <thead>
                                <tr>
                                    <th>Name</th>
                                    <th>Email</th>
                                    <th>Status</th>
                                    <th>Last Seen</th>
                                </tr>
                                </thead>
                                <tbody>
                                @foreach($users as $user)
                                    <tr>
                                        <td>{{$user->name}}</td>
                                        <td>{{$user->email}}</td>
                                        <td>
                                            @if(Cache::has('is_online' . $user->id))
                                                <span class="text-success">Online</span>
                                            @else
                                                <span class="text-secondary">Offline</span>
                                            @endif
                                        </td>
                                        <td>{{ \Carbon\Carbon::parse($user->last_seen)->diffForHumans() }}</td>
                                    </tr>
                                @endforeach
                                </tbody>
                            </table>
                        </div>
                    </div>
                </div>
            </div>
        </div>
    </div>
@endsection
Now we are ready to run our example so run bellow command for quick run:
php artisan serve
Now you can open bellow URL on your browser:
http://localhost:8000/status
It will help you...
#Laravel 7
#Laravel
#Laravel 6
