04-Apr-2023
.
Admin

Hi Guys,
In this blog, I will explain you how to create material ui radio button in react native. You can easily create material ui radio button in react native. First i will import radio button namespace from react-native-paper, after I will make material ui radio button using in react native.
Here, I will give you full example for simply display material ui radio button using react native as bellow.
Step 1 - Create project
In the first step Run the following command for create project.
expo init MaterialUiRadioButton
Step 2 - Install Package
In the step,I will install npm i react-native-paper package .
npm i react-native-paper
Step 3 - App.js
In this step, You will open App.js file and put the code.
import * as React from 'react';
import { View, StyleSheet, Text } from 'react-native';
import { RadioButton } from 'react-native-paper';

const RadioButttonExample = () => {
  const [checked, setChecked] = React.useState('male');

  return (
    <View style = {styles.view}>
      <Text style = {styles.title}>Gender : </Text>
      <Text onPress={() => setChecked('male')}>Male</Text>
      <RadioButton
        value="male"
        status={ checked === 'male' ? 'checked' : 'unchecked' }
        color = "purple"
        onPress={() => setChecked('male')}
      />

      <Text onPress={() => setChecked('female')}>Female</Text>
      <RadioButton
        value="female"
        color = "purple"
        status={ checked === 'female' ? 'checked' : 'unchecked' }
        onPress={() => setChecked('female')}
      />
    </View>
  );
};

export default RadioButttonExample;

const styles = StyleSheet.create ({
   view: {
      flexDirection: 'column',
      justifyContent: 'center',
      alignItems: 'center',
      paddingTop: 200
   },
   title: {
      fontSize : 20,
      marginBottom: 10
   }
})
Step 4 - Run project
In the last step run your project using bellow command.
npm start
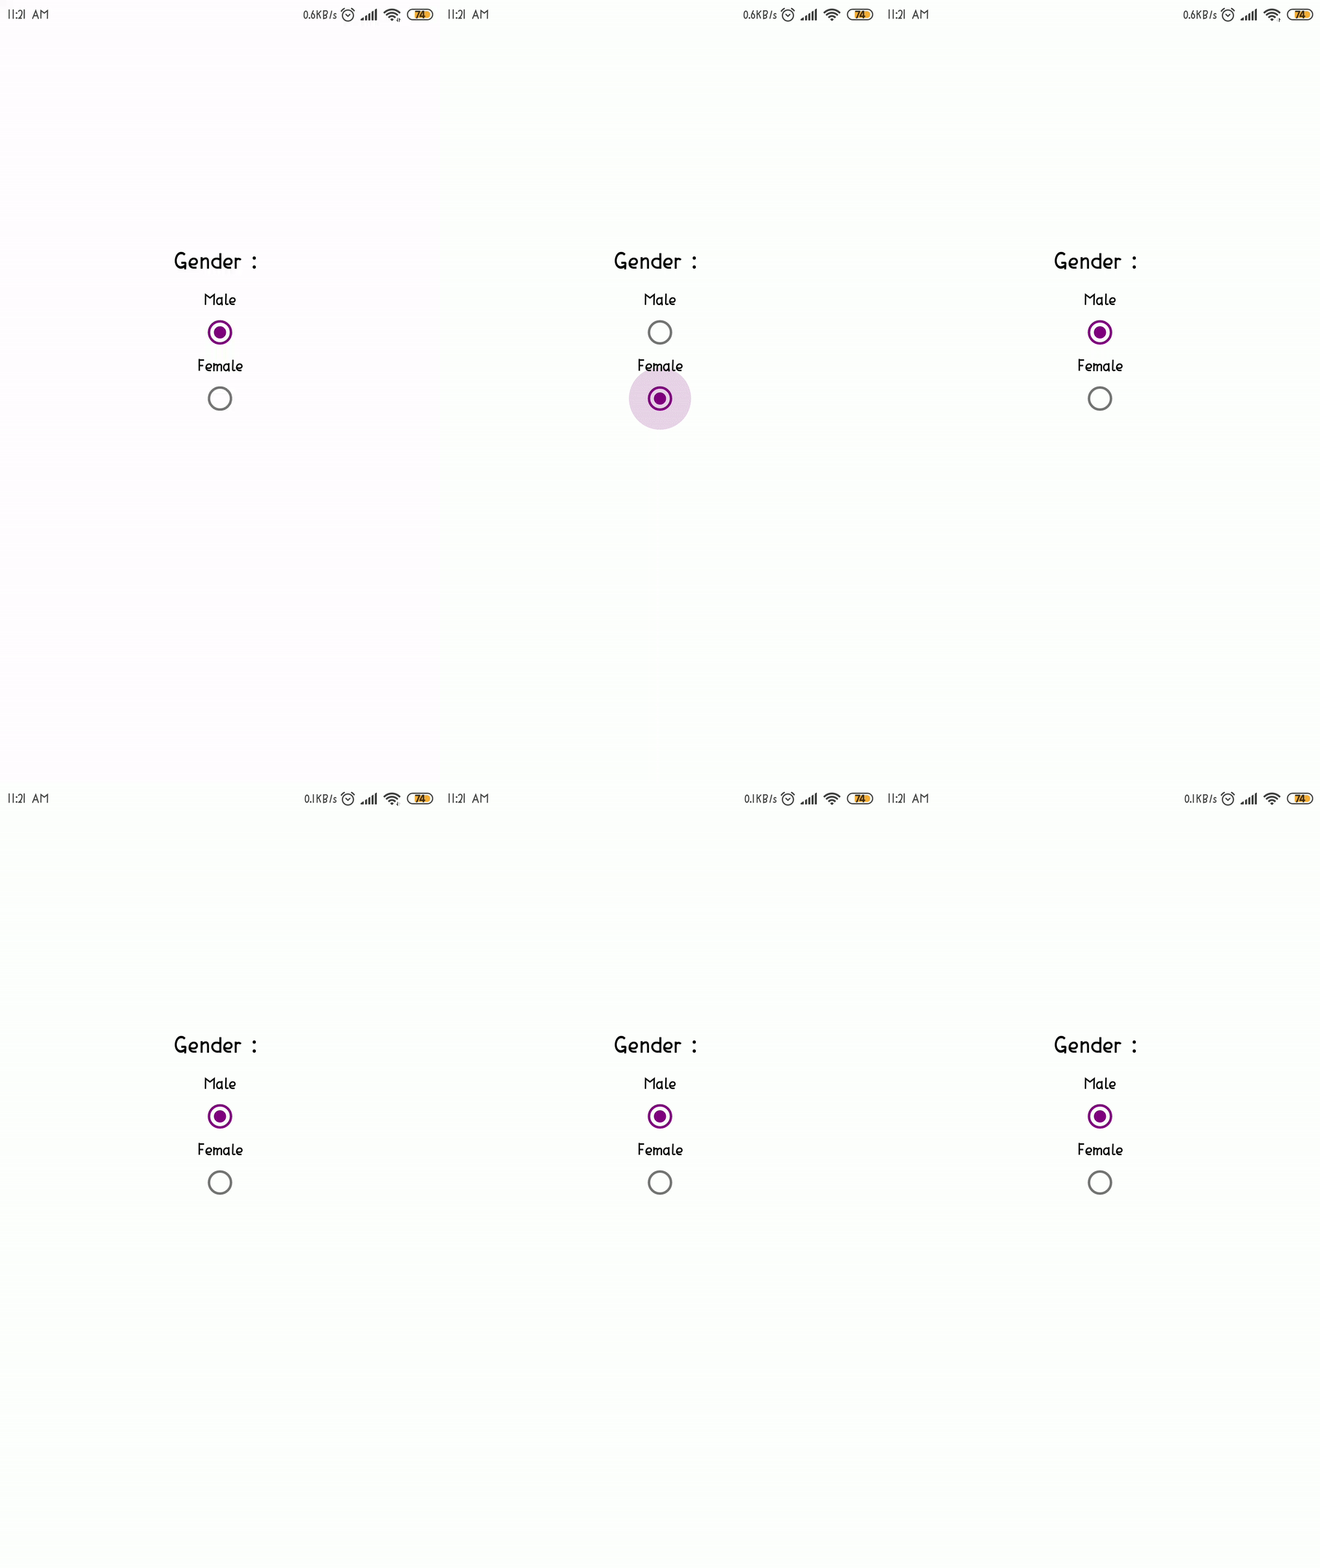
Output

It will help you...
#React Native