10-Apr-2023
.
Admin
Hi Guys,
This article goes into detail on laravel 9 mailgun setup example. it's a simple example of mailgun api laravel. you will learn to send mail using mailgun laravel 9. This article goes in detailed on mailgun settings laravel 9. Follow below tutorial step below of laravel Smtp mailgun org.
We will show step by step send mail using mailgun example in laravel 9.Mailgun is very popular API to send email from website. It is very fast to send mail and also it tracks the mail. Tracking email is very important feature of mailgun api and you can also see how much user open your mail, and click on your mail too. Mailgun send mail like a work gun.
Follow below tutorial step below of laravel Smtp mailgun org.
Step 1: Download Laravel
Let us begin the tutorial by installing a new laravel application. if you have already created the project, then skip following step.
composer create-project laravel/laravel example-app
Step 2: Add Configuration
First we will add configration on mailgun if you don't have. So click bellow link to create account:
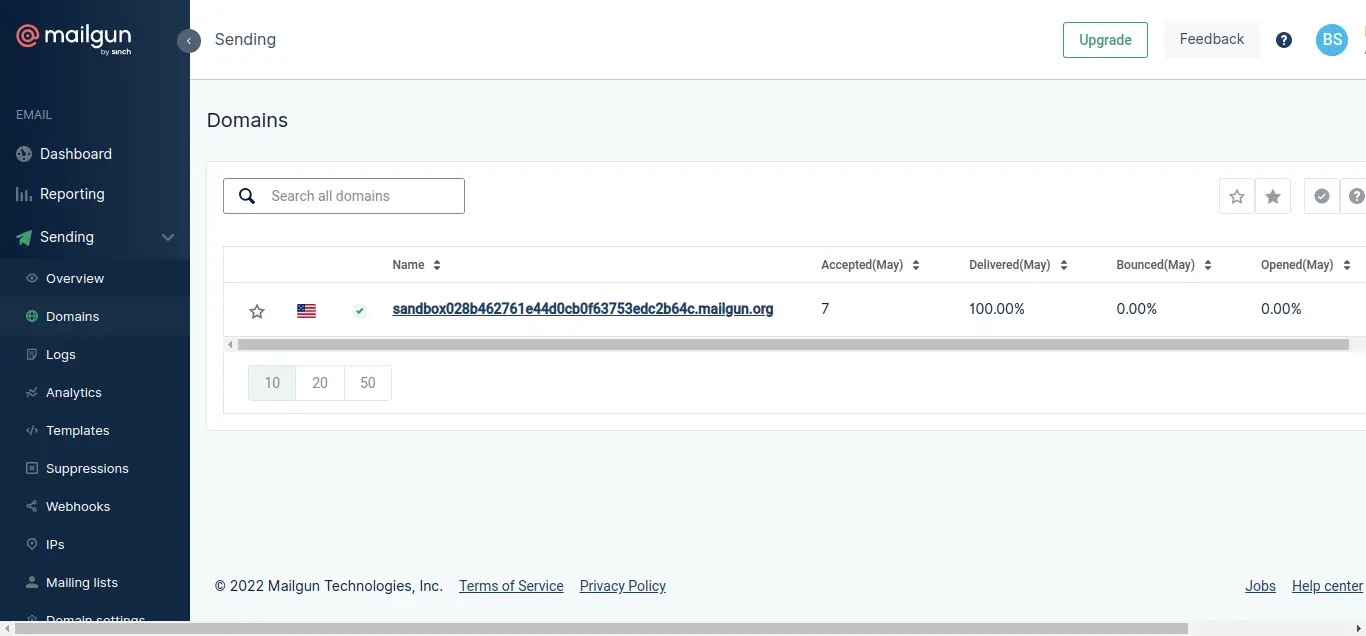
So, After creating account you will get mail configuration as mail host, mail port, mail username, mail password. you can see bellow image:
Domain Page: Sending->Domain
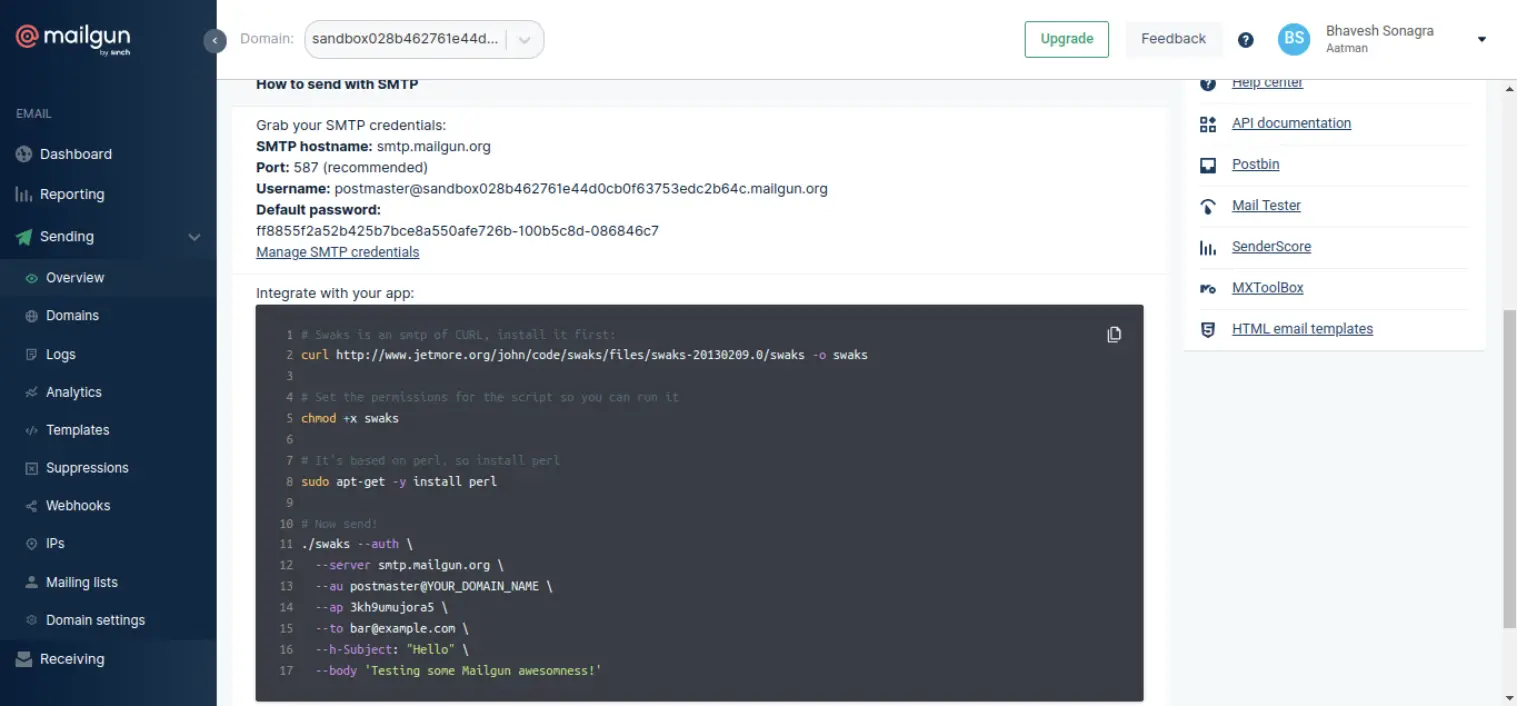
In Domain Detail page -> Click to SMTP

Get SMTP Details
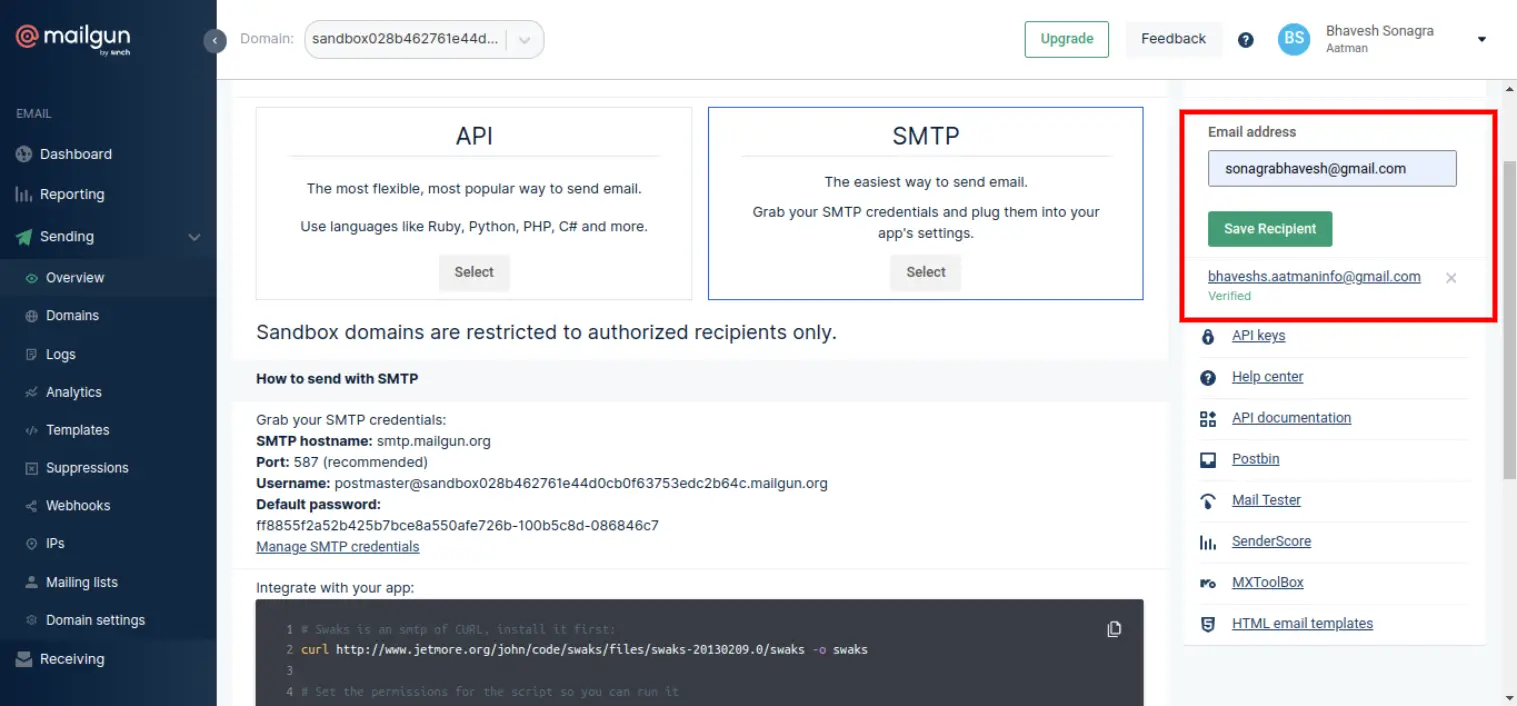
Add Receiver Email for Testing:
Here, now we can add this details in .env file.
.env
MAIL_DRIVER=mailgun
MAIL_HOST=smtp.mailgun.org
MAIL_PORT=587
MAIL_USERNAME=postmaster@sandbox028b462761e..
MAIL_PASSWORD=ff8855..
MAIL_ENCRYPTION=tls
MAIL_FROM_ADDRESS=mygoogle@gmail.com
MAIL_FROM_NAME="${APP_NAME}"
Step 3: Add Route
In this section we need to create routes for items listing. so open your "routes/web.php" file and add following route.
routes/web.php
<?php

use Illuminate\Support\Facades\Route;
use App\Http\Controllers\PDFController;

/*
|--------------------------------------------------------------------------
| Web Routes
|--------------------------------------------------------------------------
|
| Here is where you can register web routes for your application. These
| routes are loaded by the RouteServiceProvider within a group which
| contains the "web" middleware group. Now create something great!
|
*/

Route::get('send-email', [PDFController::class, 'index']);
Step 4: Add Controller
php artisan make:controller PDFController
In this step we need to create a new controller for send mail make sure you have "files" folder in public with following files.
app/Http/Controllers/PDFController.php
<?php

namespace App\Http\Controllers;

use Illuminate\Http\Request;
use Mail;

class PDFController extends Controller
{
    /**
     * Write code on Method
     *
     * @return response()
     */
    public function index(Request $request)
    {

        $files = [
            public_path('nice-logo.png'),
            public_path('myWebtuts.png'),
        ];

        $data["email"] = "bhaveshs.**********@gmail.com";
        $data["title"] = "From Nicesnippets.com";
        $data["body"] = "This is Demo";

        Mail::send('emails.myTestMail', $data, function($message)use($data, $files) {
            $message->to($data["email"], $data["email"])
                    ->subject($data["title"]);

            foreach ($files as $file){
                $message->attach($file);
            }

        });

        dd('Mail sent successfully');
    }
}
Step 5: Add View File
In this section we require to create a view file for send mail in your gmail account for layout of pdf file and put following code:
resources/views/emails/myTestMail.blade.php
<!DOCTYPE html>
<html>
<head>
    <title>Nicesnippets.com</title>
</head>
<body>
    <h1>{{ $title }}</h1>
    <p>{{ $body }}</p>

    <p>Thank you</p>
</body>
</html>
Run Laravel App:
All steps have been done, now you have to type the given command and hit enter to run the laravel app:
php artisan serve
Now, you have to open web browser, type the given URL and view the app output:
http://localhost:8000/send-email
Output:
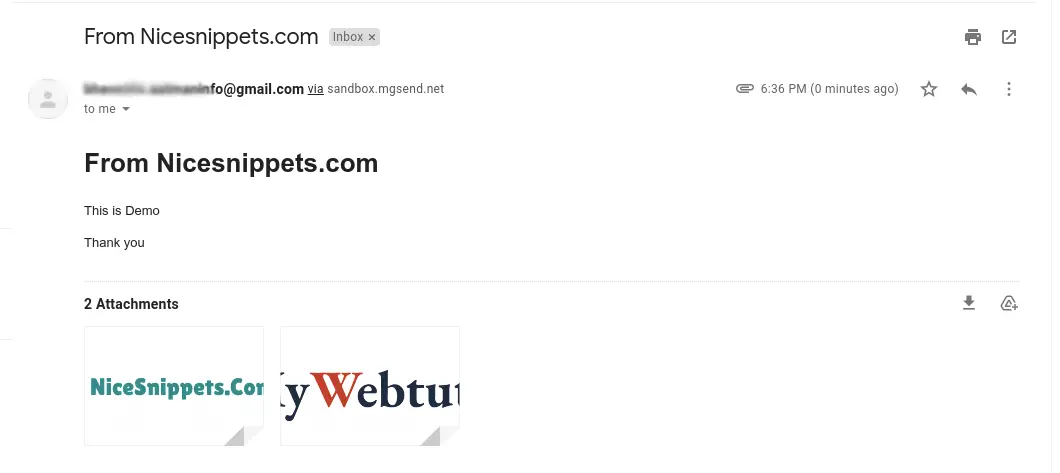
It will help you...
#Laravel 9