04-Aug-2022
.
Admin
Hello Friends,
This tutorial will give you an example of how to image upload in the node js app example. We will look at the example of image upload node.js. I would like to share with you the node js image upload. you can see how to image upload in node js.
This example is how to image upload in node js app example. This example is an uploaded image in the uploads folder. we will use this example image upload using multer module. multer is very popular when it comes to file uploading. then after click on submit button, we will call the index.js file and store the image in the uploads folder.
let's see below a simple example with output:
Step 1: Install Node JS
This step is not required; however, if you have not created the node js app, then you may go ahead and execute the below command:
mkdir my-app
cd my-app

npm init
Multer will process only those form which are multipart (multipart/form-data). So whenever you use multer, make sure you put multipart in form.
Step 2: Installation of Multer module
1. You can visit the link Install multer module. You can install this package by using this command.
npm install multer
2. Now installing multer you can check your multer version in command prompt using the command.
npm version multer
you can just create a folder and add a file for example index.js, To run this file you need to run the following command.
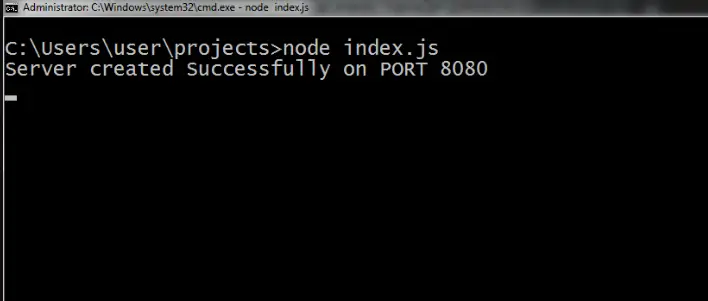
node index.js
Multer basically adds a file object or files object and a body object to the request object.
How multer binds the data whenever a form is submitted.
Step 3: Create ImageUpload File
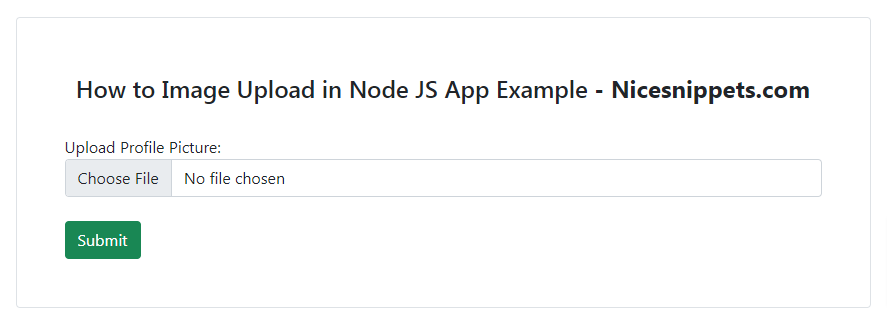
views/imageUpload.ejs
<!DOCTYPE html>
<html>
<head>
    <link href="https://cdn.jsdelivr.net/npm/bootstrap@5.1.3/dist/css/bootstrap.min.css" rel="stylesheet">
    <title>How to Image Upload in Node JS App Example</title>
</head>
<body>
    <div class="container">
        <div class="row justify-content-center mt-5">
            <div class="col-md-9 border rounded p-5 mt-5">
                <div class="row">
                    <div class="col-md-12 text-center p-2">
                        <h4>How to Image Upload in Node JS App Example <strong>- Nicesnippets.com</strong></h4>
                    </div>
                    <div class="col-md-12 mt-3">
                        <form action="/uploadProfilePicture" enctype="multipart/form-data" method="POST">
                            <span>Upload Profile Picture:</span>
                            <input type="file" name="mypic" class="form-control" required/> <br>
                            <input type="submit" value="Submit" class="btn btn-success">
                        </form>
                    </div>
                </div>
            </div>
        </div>
    </div>
</body>
</html>
Step 4: Create Index File
index.js
const express = require("express")
const path = require("path")
const multer = require("multer")
const app = express()

// View Engine Setup
app.set("views",path.join(__dirname,"views"))
app.set("view engine","ejs")

// If you do not want to use diskStorage then uncomment it
var storage = multer.diskStorage({
    destination: function (req, file, cb) {

        // Uploads is the Upload folder name
        cb(null, "uploads")
    },
    filename: function (req, file, cb) {
        cb(null, file.fieldname + "-" + Date.now()+".jpg")
    }
})

// Define the maximum size for uploading
const maxSize = 1 * 1000 * 1000;

var upload = multer({
    storage: storage,
    limits: { fileSize: maxSize },
    fileFilter: function (req, file, cb){

        // Set the filetypes, it is optional
        var filetypes = /jpeg|jpg|png/;

        var mimetype = filetypes.test(file.mimetype);

        var extname = filetypes.test(path.extname(
                    file.originalname).toLowerCase());

        if (mimetype && extname) {
            return cb(null, true);
        }

        cb("Error: File upload only supports the " + "following filetypes - " + filetypes);
      }

// mypic is the name of file attribute
}).single("mypic");

app.get("/",function(req,res){
    res.render("imageUpload");
})

app.post("/uploadProfilePicture",function (req, res, next) {

    // error occurs, the image would not be uploaded!
    upload(req,res,function(err) {

        if(err) {
            // ERROR occurred
            res.send(err)
        }
        else {

            // SUCCESS, image successfully uploaded
            res.send("Success, Image uploaded!")
        }
    })
})

// Take any port number of your choice which
// is not taken by any other process
app.listen(8080,function(error) {
    if(error) throw error
    console.log("Server created Successfully on PORT 8080")
})
Steps to run the program
Now you have ‘view engine’ like I have used “ejs” and also install express and multer using following commands:
npm install ejs
npm install express
npm install multer
Step 5: Run App
node index.js
Step 6: Run App
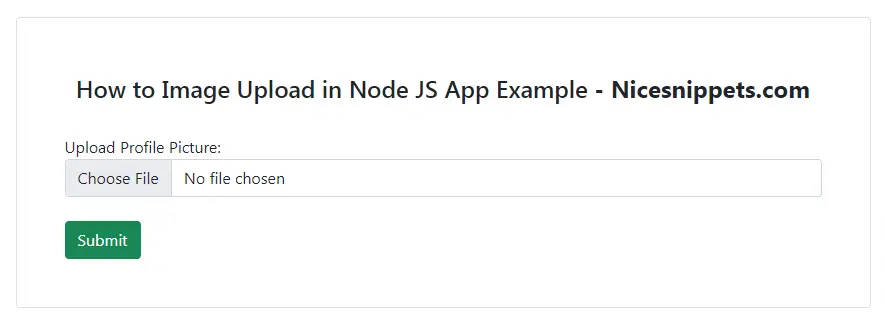
Open your browser and type this URL:
http://localhost:8080/
Output:
I hope it can help you....
#Node JS